My Budget Powder Refresh Is Complete
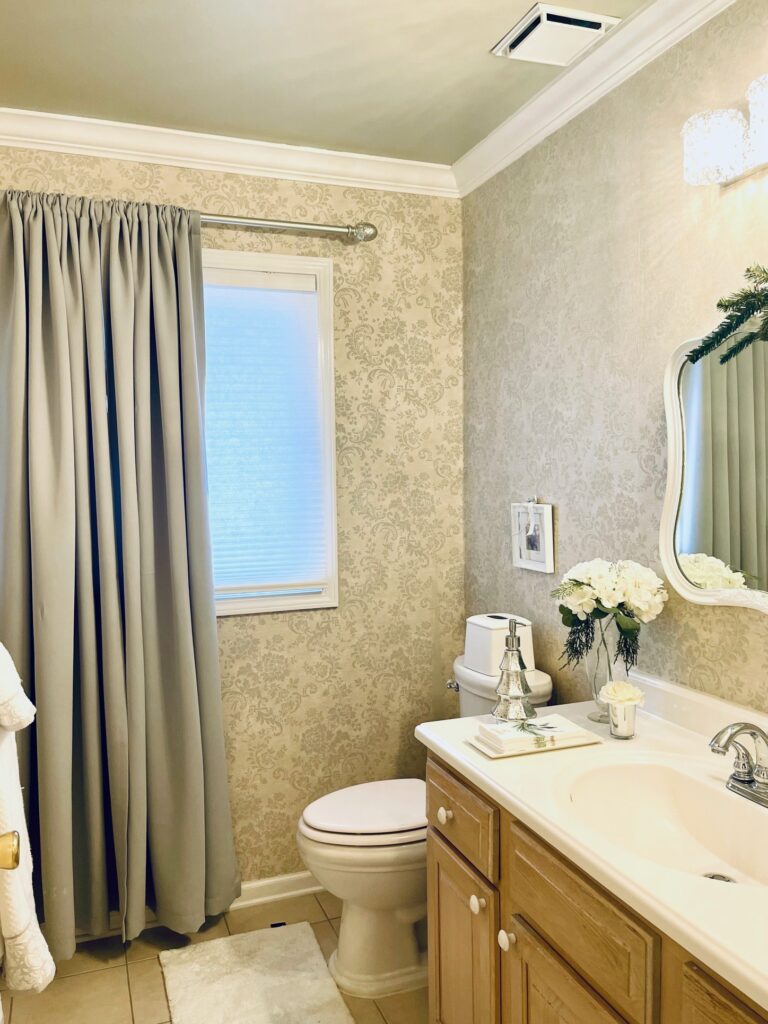
My budget powder refresh is complete, well almost!
I’m finally sharing the powder bath refresh that we have been working on, and I must say it’s been slow! It sure took some time to finish the refresh. It was mostly due to my indecision and what I wanted that stalled the re-fresh of the bathroom.
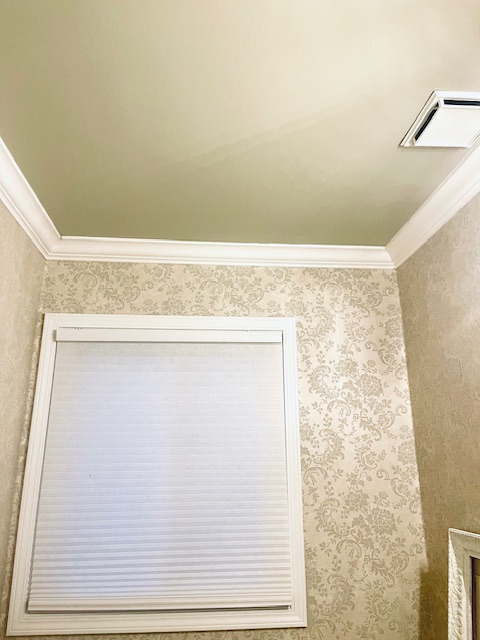
I wasn’t sure if I wanted to use wallpaper in the powder bath again, although I love pretty wallpaper. The decision was also how much wall did I want to paper. The powder bath is small so I wasn’t sure if I wanted to only do half the wall and add a molding or do the whole wall. Deciding on a paint color to add to the refresh took some time and then trying to match paint with the wallpaper! I wanted to paint the ceiling color to match the wallpaper. That took time to find the right paint color match.
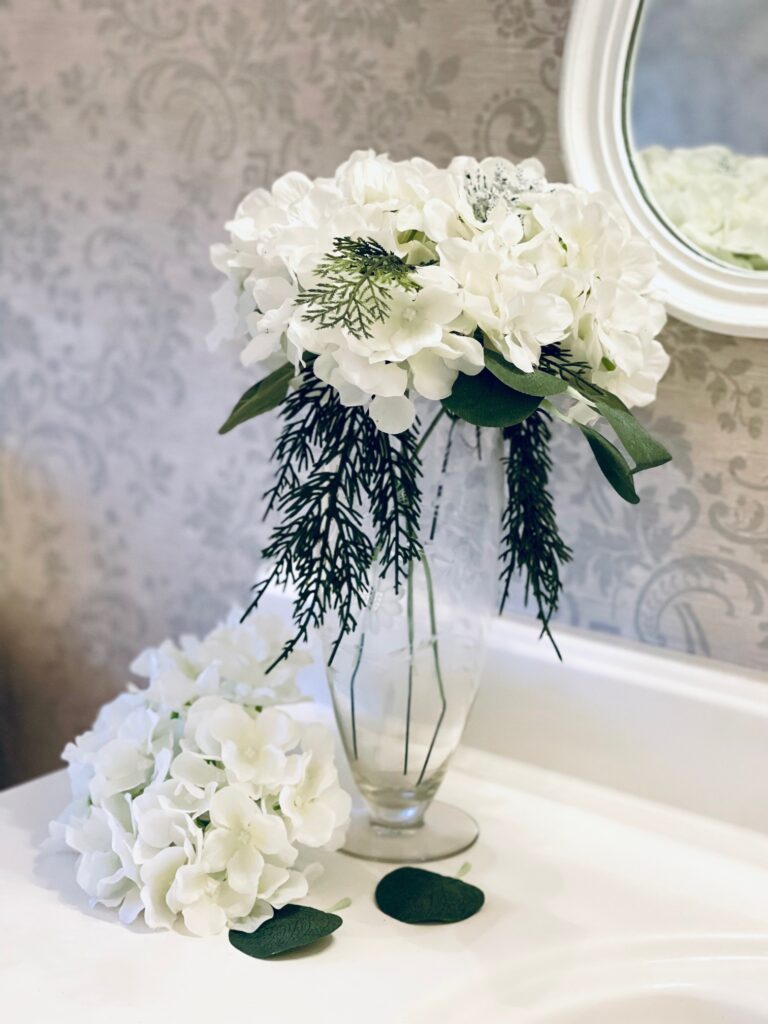
I also like to add a drape or curtain in a half bath or powder bath as it can be called. Do you know in the Midwest it is often called a half bath? The reason it’s called a half bath is because it’s a bath without a shower or tub, and it’s usually half the size of a regular bathroom. I like the name Powder Bath best, it sounds so chic, like a glamorous space! Sometimes this type of bath is called a guest bath. Whatever name it is given it’s a small bathroom with just a toilet and sink and no tub or shower.
I wanted my little bathroom to look pretty and be a special room my guest would feel comfortable in.
How The Powder Bath Refresh Became
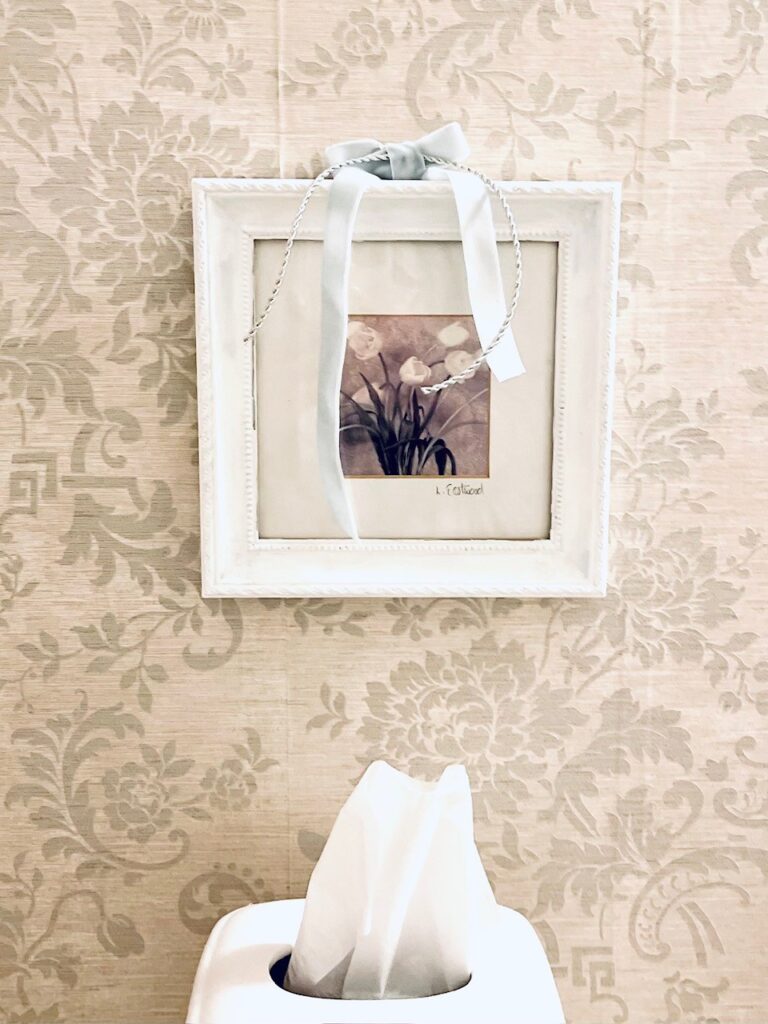
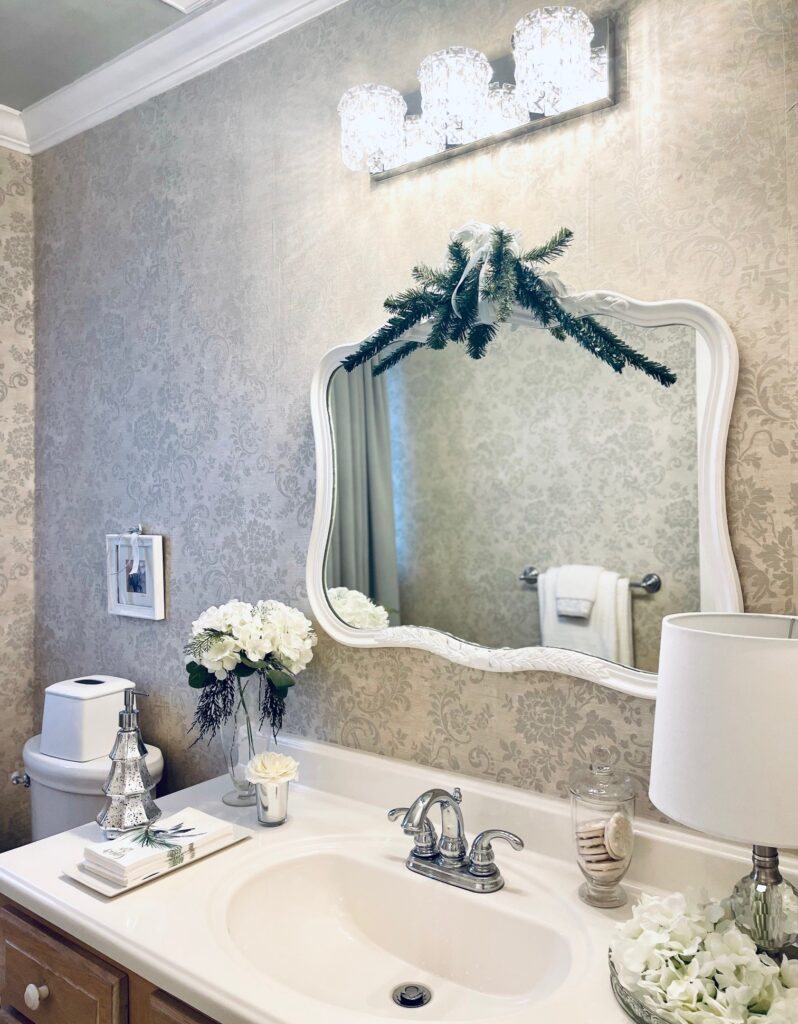
My powder bath refresh all started with a very beautiful vintage mirror. I found the mirror several years ago at a barn sale and I knew I was going to use it to refresh the powder bath. It’s a beautiful mirror with intricate carving embossed around the edges of the mirror. I think it’s one of my favorite pieces I’ve added to our home.
My powder room refresh was all done on a low budget. I feel for myself it’s always good to set a budget. I wanted to do more but for now, this little refresh will do and it makes me happy!
Wallpaper For The Powder Bath
Selecting wallpaper for the powder bath was a little daunting. There are so many types of wallpaper to choose from these days! At first, I thought maybe I wanted to try the new stick-and-peel wallpaper. There are so many pretty selections to choose from but I had never used this type of paper. All I kept envisioning was how hard it was to use contact paper on a cabinet shelf. I could just see my powder bath walls being a mess and cleanup would be hard! Usually, when I wallpaper I use the type of paper you submerge in the water. I use a wallpaper tub, roll the paper inside out, and place it in the water. The wallpaper tub is placed under the work area so as you pull it out of the little tub you place the wallpaper on the wall smoothing it along.
Well, the paper I found was the type of wallpaper that is used with glue, I didn’t realize until we got started. Mr Fix-it ( aka the hubs) was helping me and was not happy about using this type of paper. He asked me to return it to the store and request a refund! This was the wallpaper that took me forever to find, I had it for some time and I knew it couldn’t be returned!
I did go to the store which by the way has the best wallpaper selection in my area. The store is Decorator Land and they must have hundred’s and hundred’s of wallpaper! The owner was in that day, she was willing to do what she could to help me! She said this was the best type of paper and drew a diagram on how to install this type of wallpaper with glue. I also decided to watch a YouTube video, after watching I felt I was good to go!
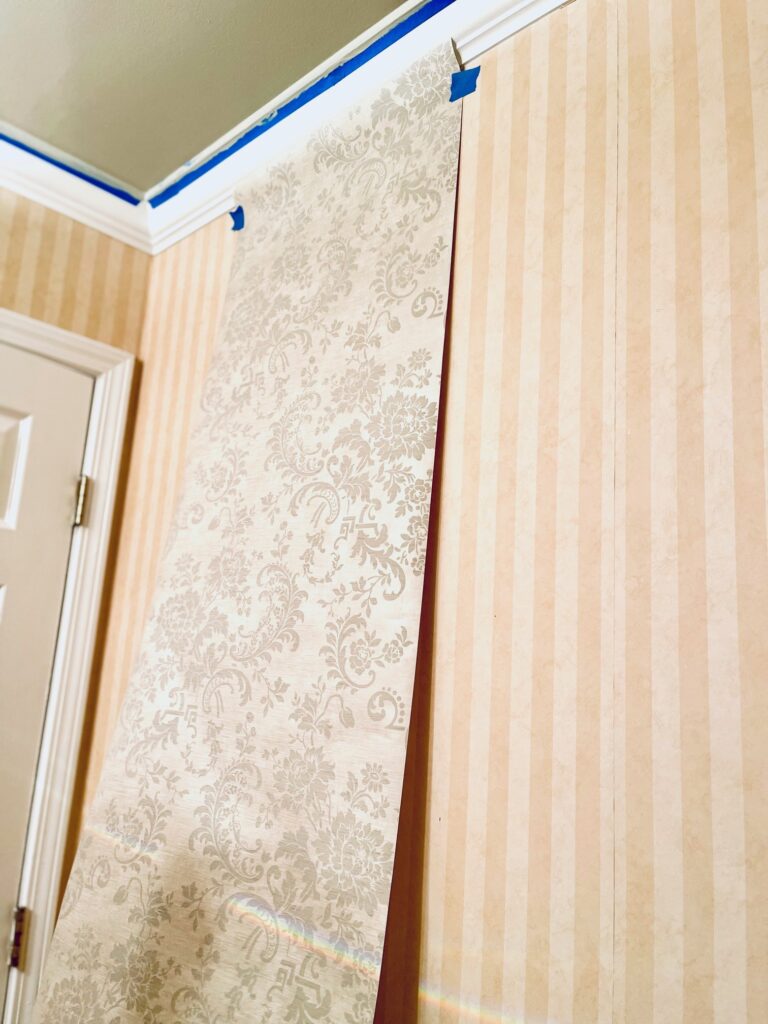
( This wallpaper was very easy to install)
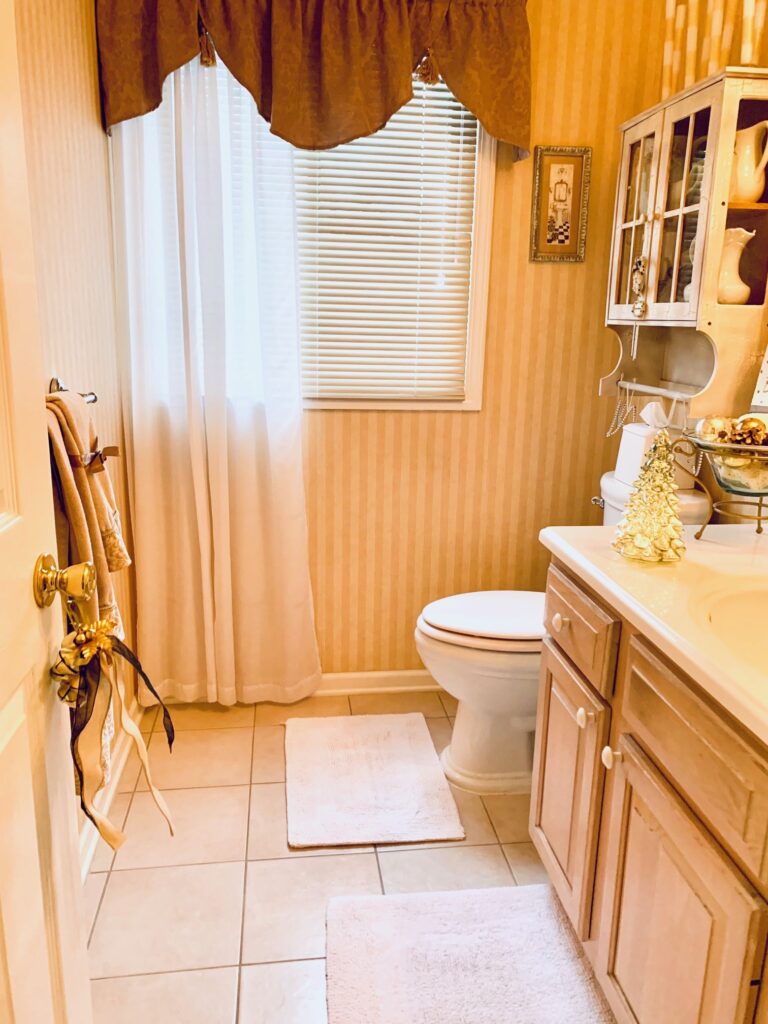
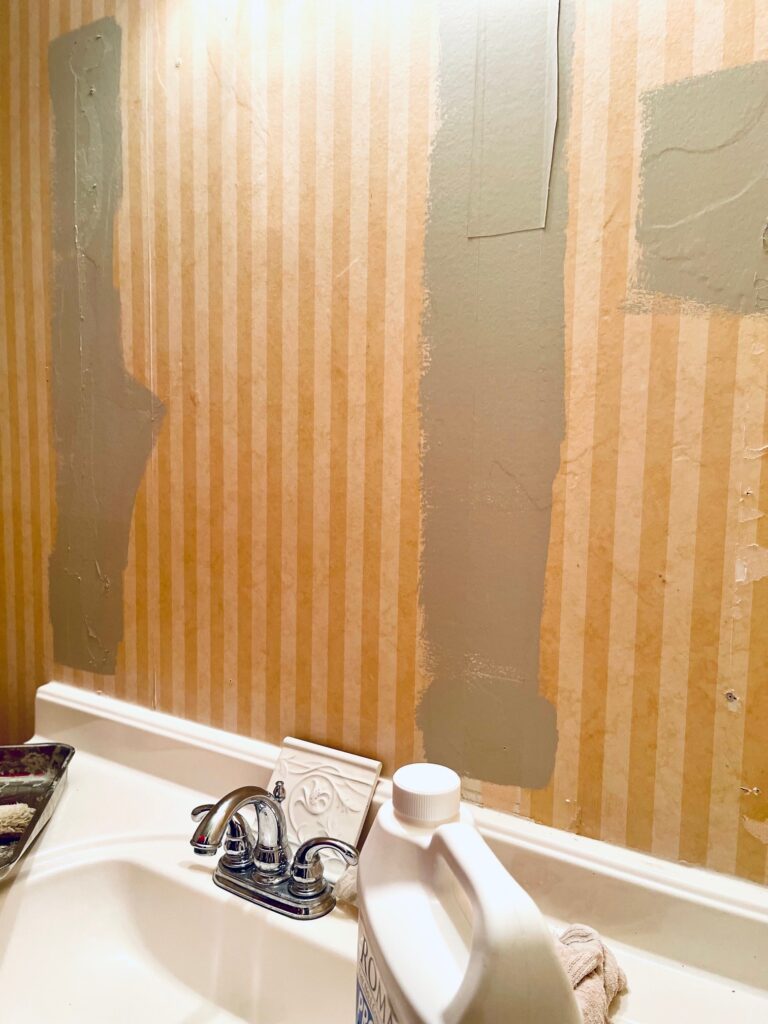
This is a picture before the powder bath refresh
The Prepping and Preparing The Powder Bath Refresh
After I selected all the items and materials I would use for the powder bath I was ready to begin! I wish it went as quickly as it sounds lol! Prepping and preparing the room is so important to achieve the best outcome of a refresh. When painting it is best to paint the trim work first, then the ceiling, and then the walls. As I was not painting the walls I still needed to prepare the walls for the wallpaper.
Preparing the trim work to paint: I made sure to clean the area a few hours before I painted. I used soap and water. I used frog tape to tape off areas I didn’t want to paint.
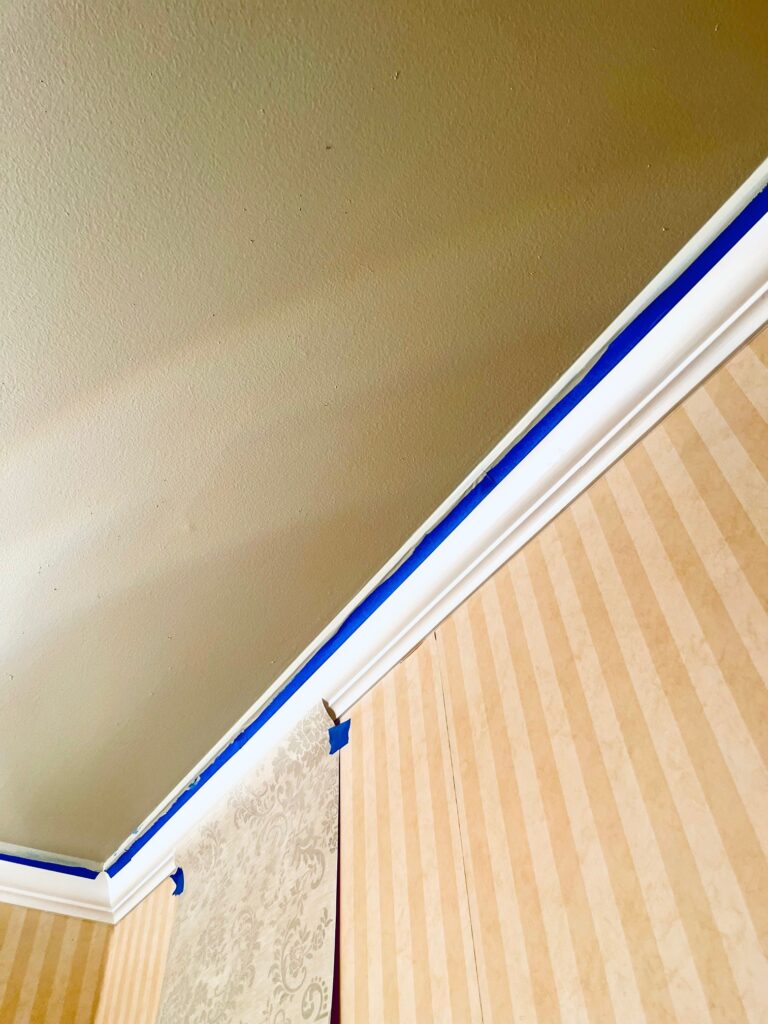
The ceiling is the next item to paint if you have crown molding as I do I used a little white chaulking to make sure there was no gapping between the walls and ceiling. I painted right over this. It does need to dry for a few hours or even a day before you paint that area.
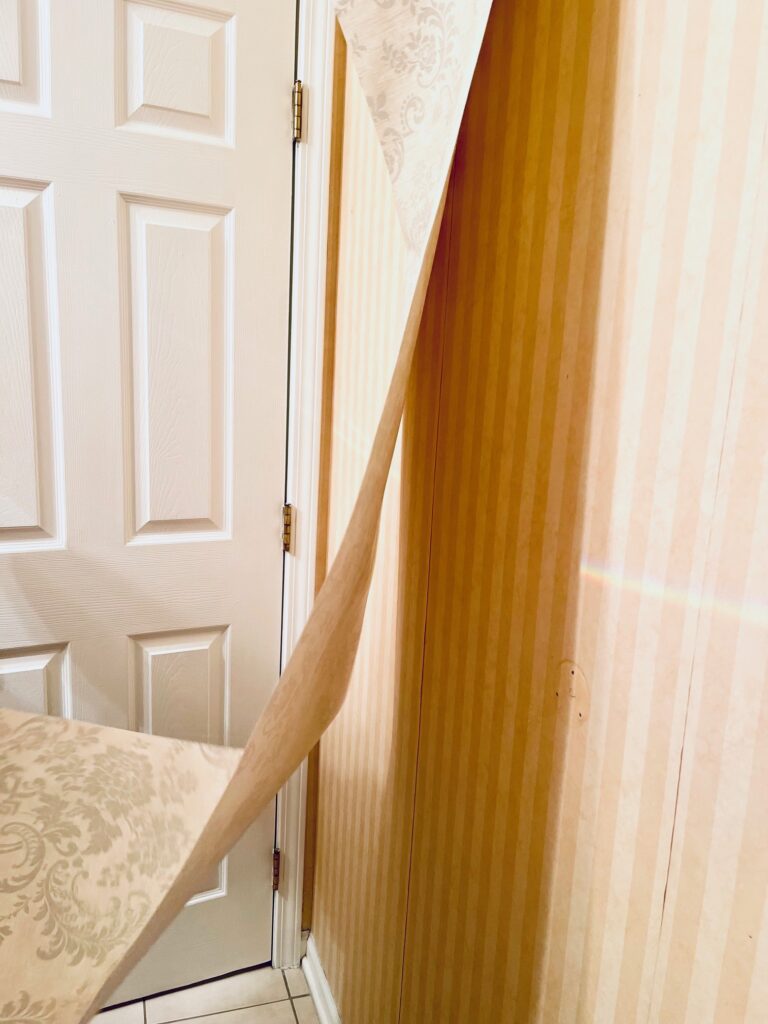
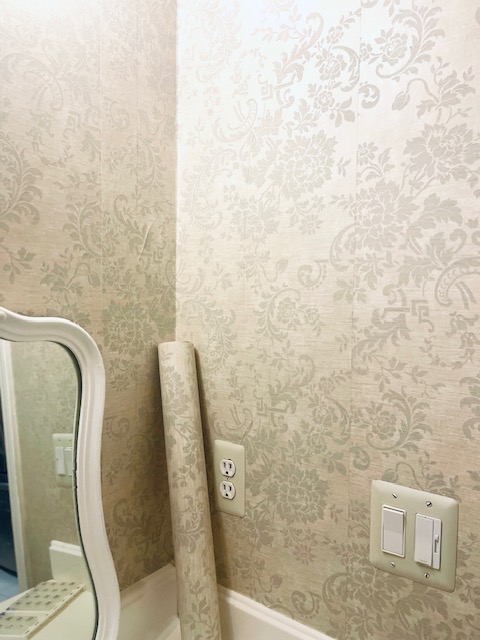
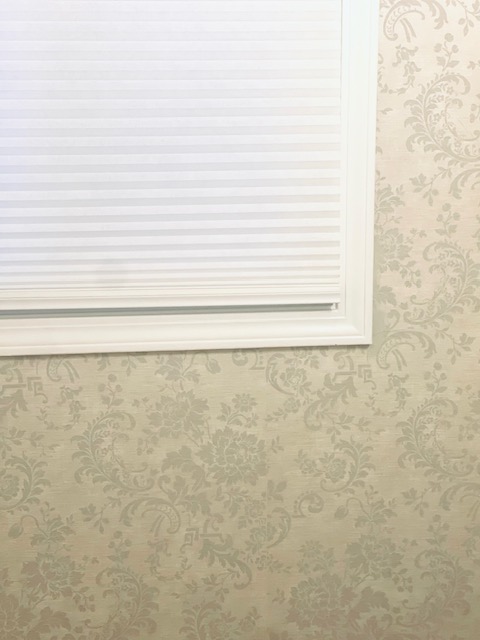
Prepping the walls to wallpaper: I made sure my wall surface was clean. For this room, I did place wallpaper over wallpaper. ( This is not advised if you can help it) We had no choice so I made sure there were no seems sticking up. I did apply some wallpaper glue to a few of the seems a few hours before I wallpapered the wall.
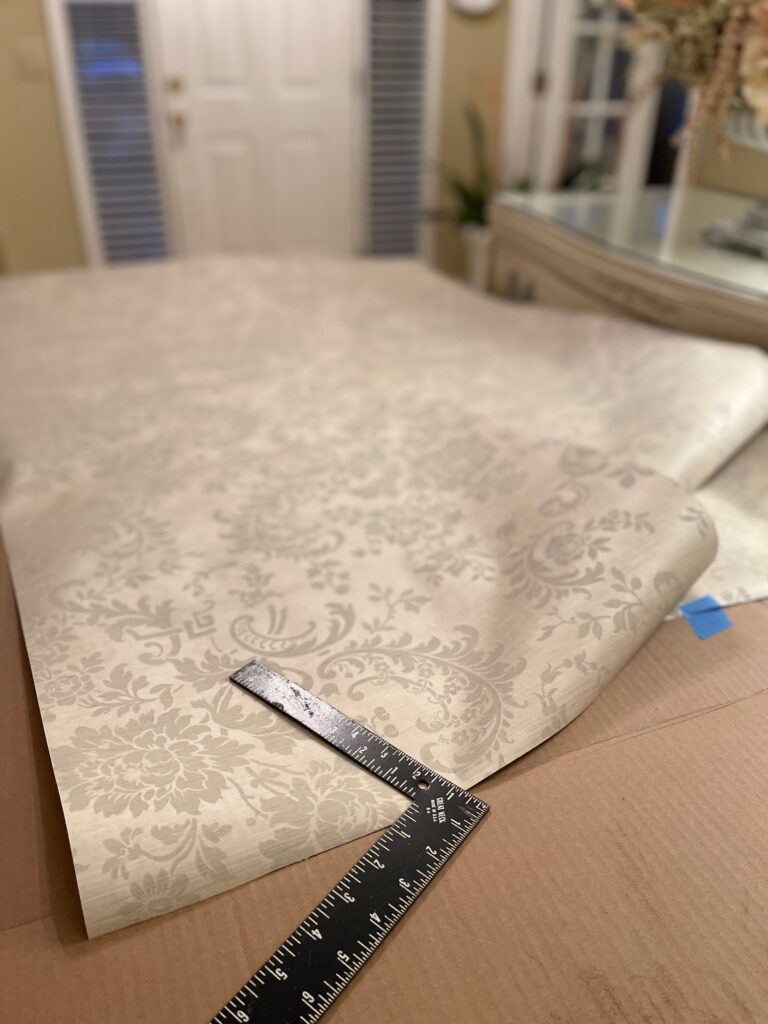
The wallpaper was measured before we started the refresh and each sheet was cut before we started. I set up a banquet table and used it to place the wallpaper sheets on to roll the glue on the paper.
It’s a little messy, well more than a little mess when doing some of these d.i.y and this was one of them.
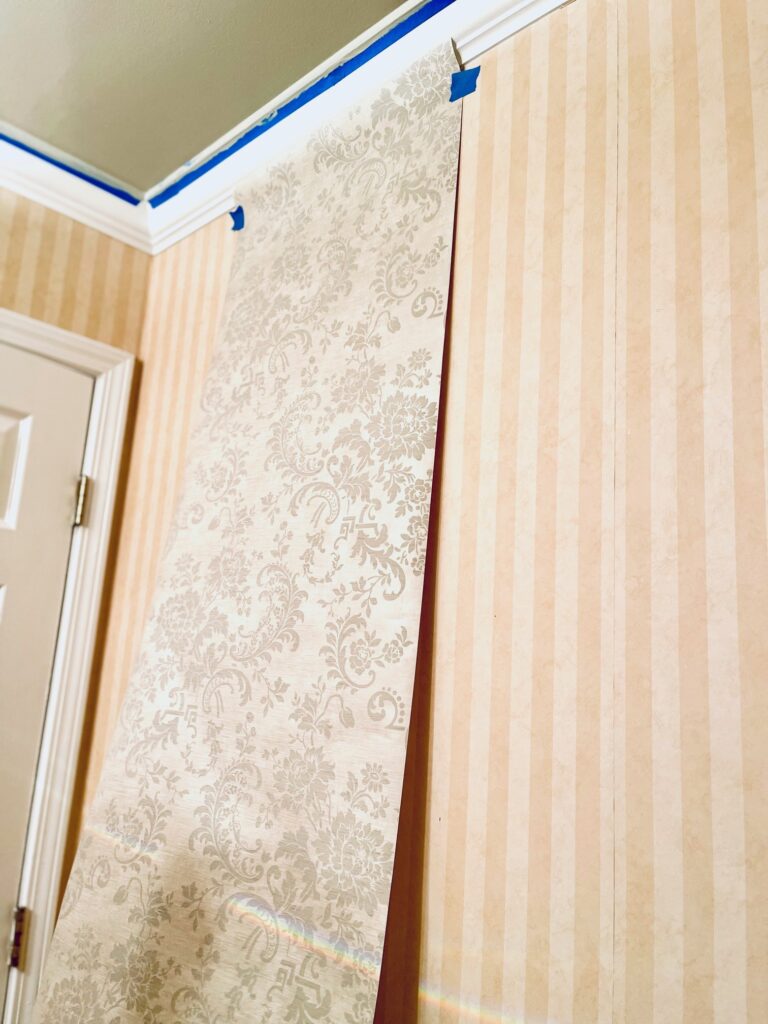
I’m so happy we are done with the refresh, I do have a few little things I still want to add to the refresh.
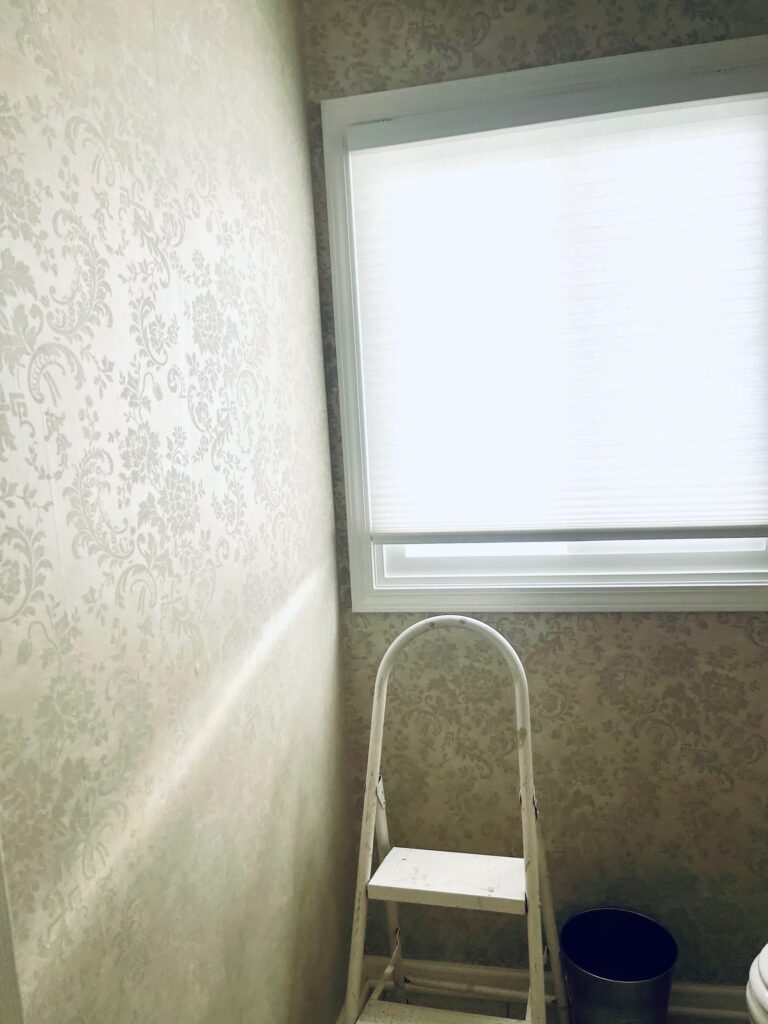
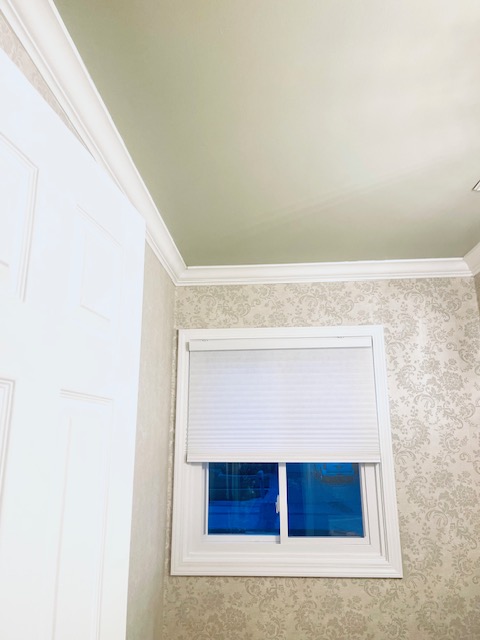
- New knobs for the vanity
- Some pretty faux flowers
- A porcelain white basket for trash
- Add a new faucet
Items I Used To Update My Powder Bath
- Wallpaper
- Paint
- Mirror
- Light fixture
- New Towels
- A Little Picture
- Drapery
- New Curtain Rod
- New Faucet
- Soap Dish
My Budget bathroom cost $343.00

Breaking Down The Cost of The Refresh
My budget was $350.00 and I came in under that amount! Of course, some of my items were bought off of Facebook Marketplace, and thrifted, and I shopped at the discount stores as well.
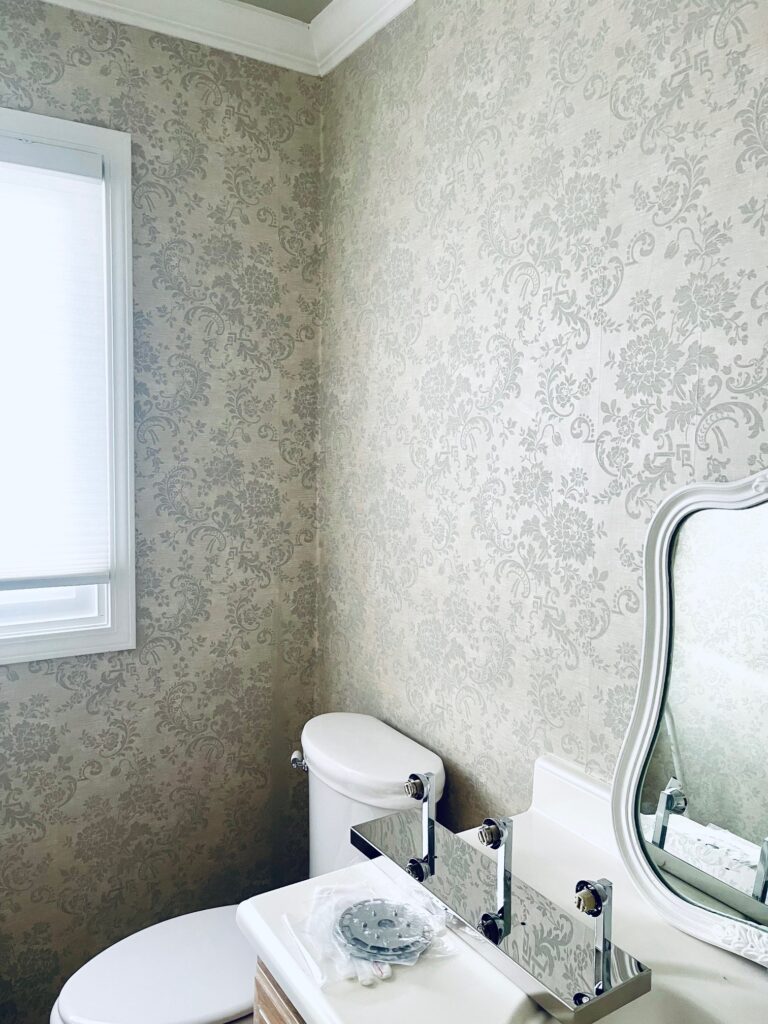
Paint and wallpaper made the biggest impact on this small powder bath. I was lucky the paper for this room was on sale because wallpaper can be quite expensive. When buying paint for a small room and most of the room was wallpaper I was able to buy the quarts size paint cans instead of the gallon cans. This saved me money as well and it was enough paint to do what I needed and have some left over.
The mirror was purchased at a barn sale, the light fixture I bought from Amazon, and the towels are from Marshalls Home Goods, they always have great prices on bath items. The drapery I purchase online at Target is their Lush Decor line, so affordable and I like the line! I also ordered the rod from Target. The new faucet was a Facebook marketplace find. I still need to add this. Thrifting brought in the little picture and the soap dish.
Everything I used was on sale, discounted or I found thrifting. It’s a great way to shop when you are trying to stay on a budget. I’m so excited about how my powder bath refresh turned out and so happy I stayed within the budget!
I am going to do a wallpaper post because I have since tried the stick and peel and it’s a quick way to wallpaper although I still like both of the other types of wallpapering as well.
So this is finally my post about my powder bath refresh!

Thank you for your patience and waiting as I kept saying I’ll be sharing soon, I’m so happy to finally share the completion with you! It sure took some time to get to the soon Lol Thank you for stopping back and reading all about My Budget Powder Refresh Is Complete!
Blessings,
Mary Anne Russo,
Please share If you have any tips on how to hang wallpaper I would love to know!






 Happy New Year Let’s Recap The Past Year


