How To Have The Most Fun Carving Pumpkins
It’s that season again, pumpkin carving season, and today I’m talking about How To Have The Most Fun Carving Pumpkins!
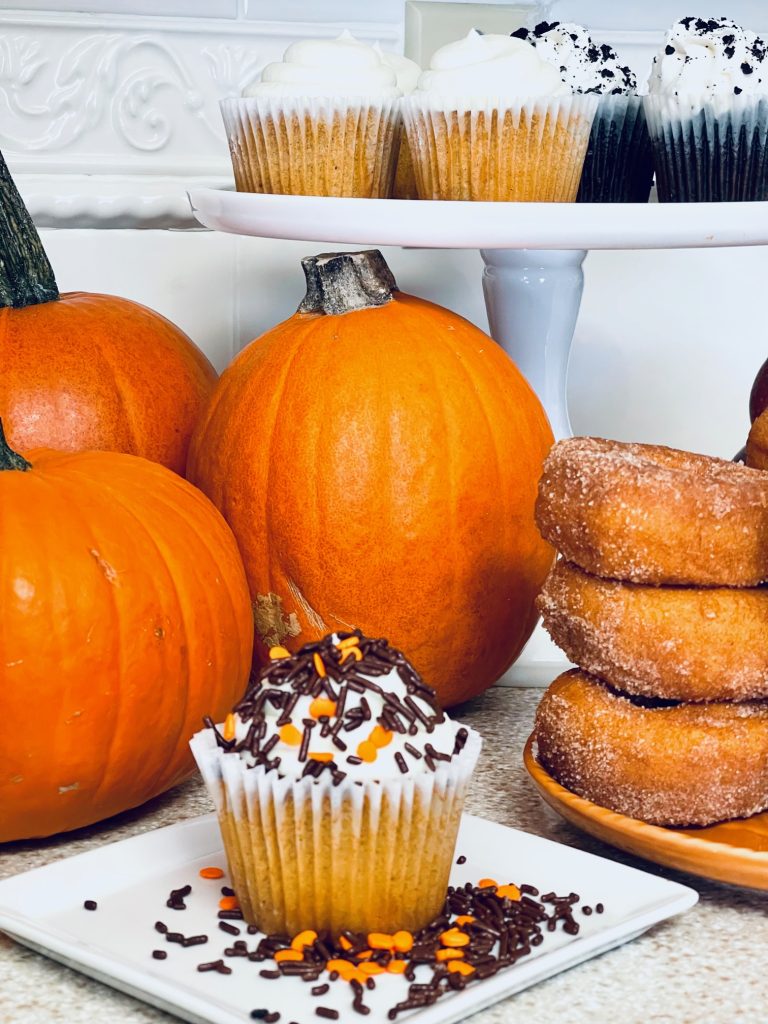
Every year in the fall my family and I carve pumpkins a few days before Halloween. This is a fun activity we have enjoyed every fall season. We always have the most fun creating our carved pumpkins.
We make a fun day out of our pumpkin carving event, it’s a great day to spend with family or friends.
This is a wonderfully fun time to get creative!
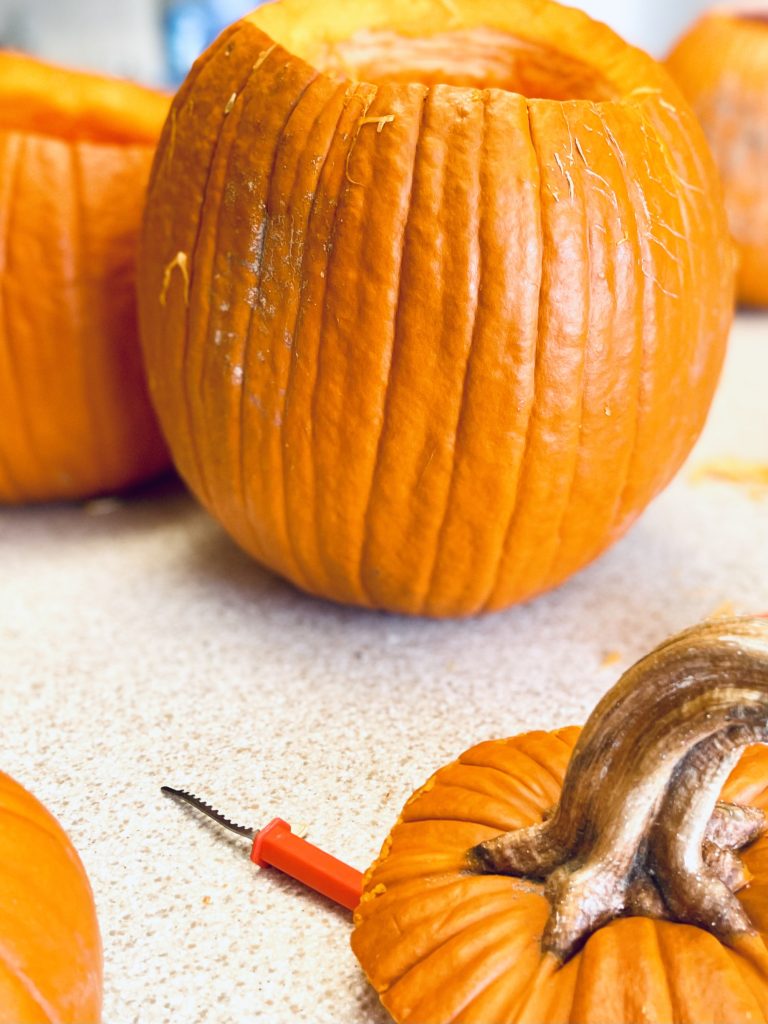
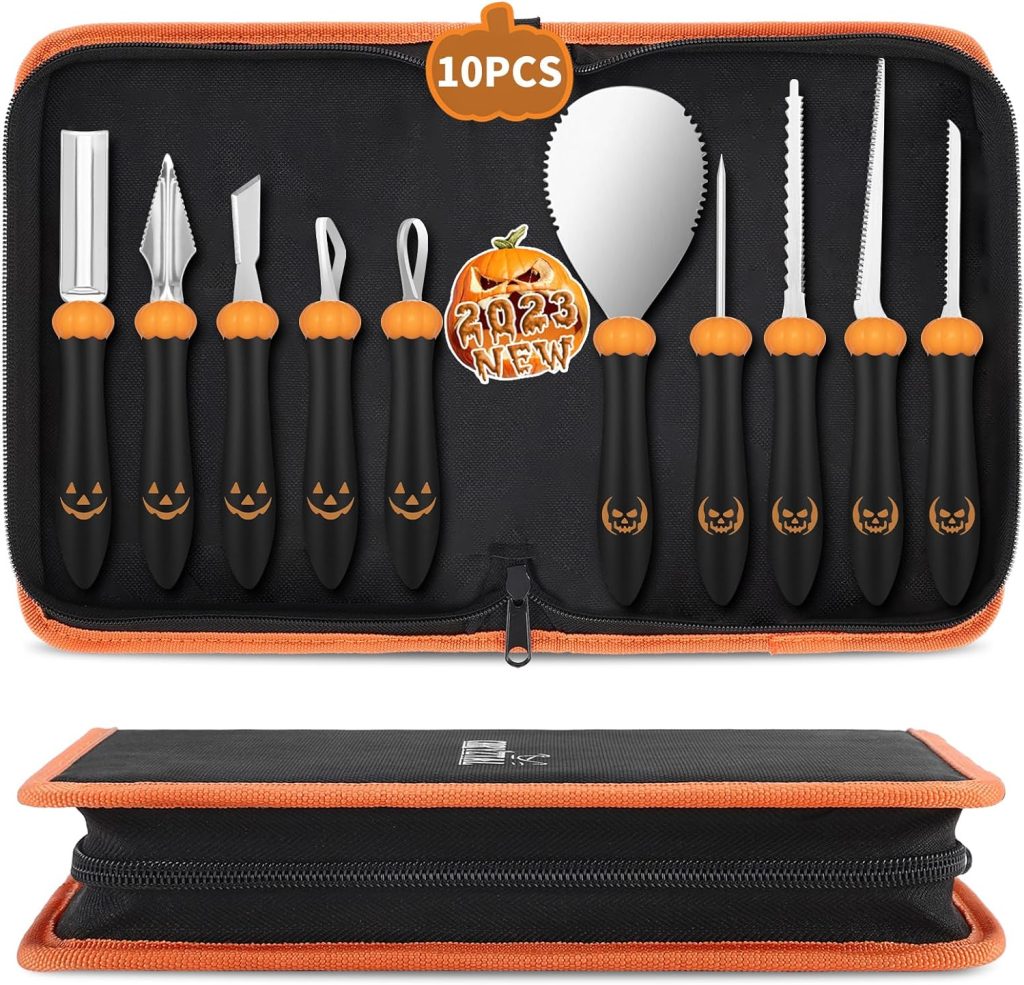
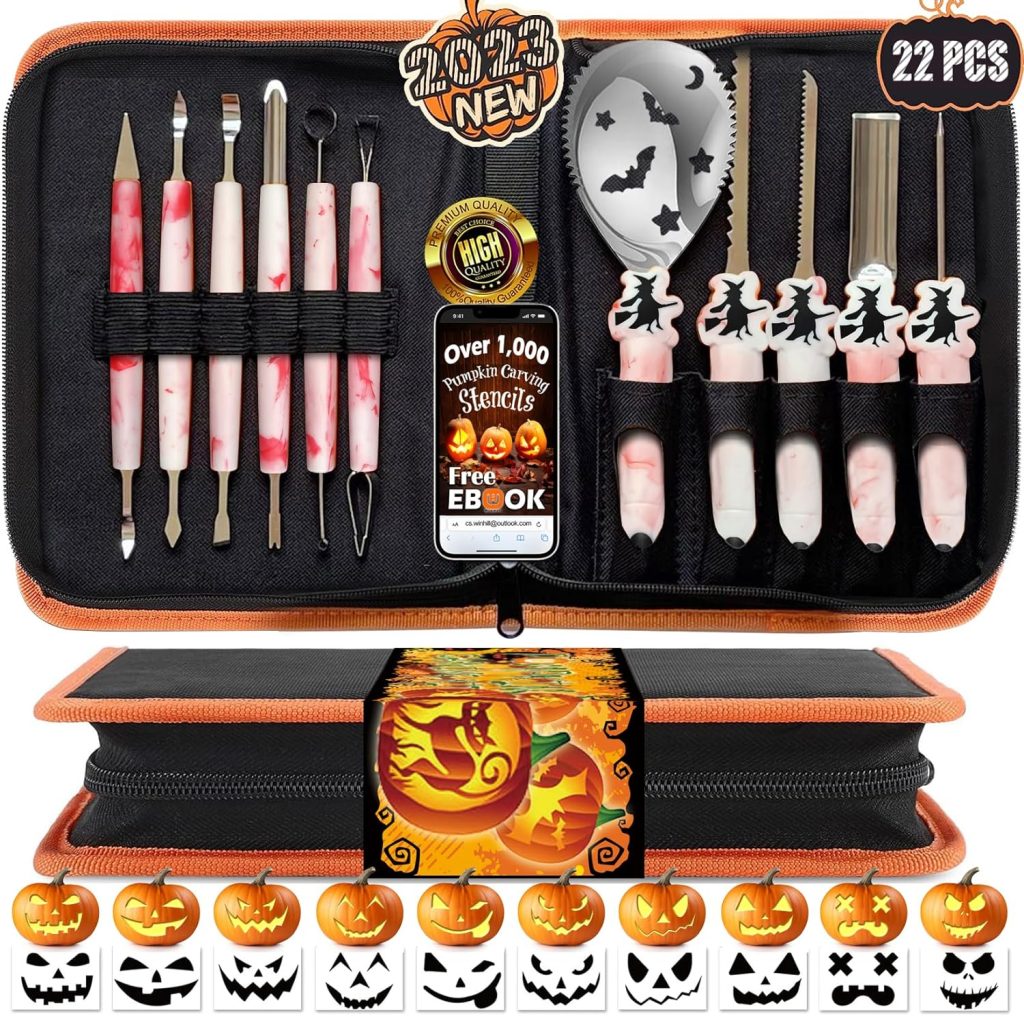
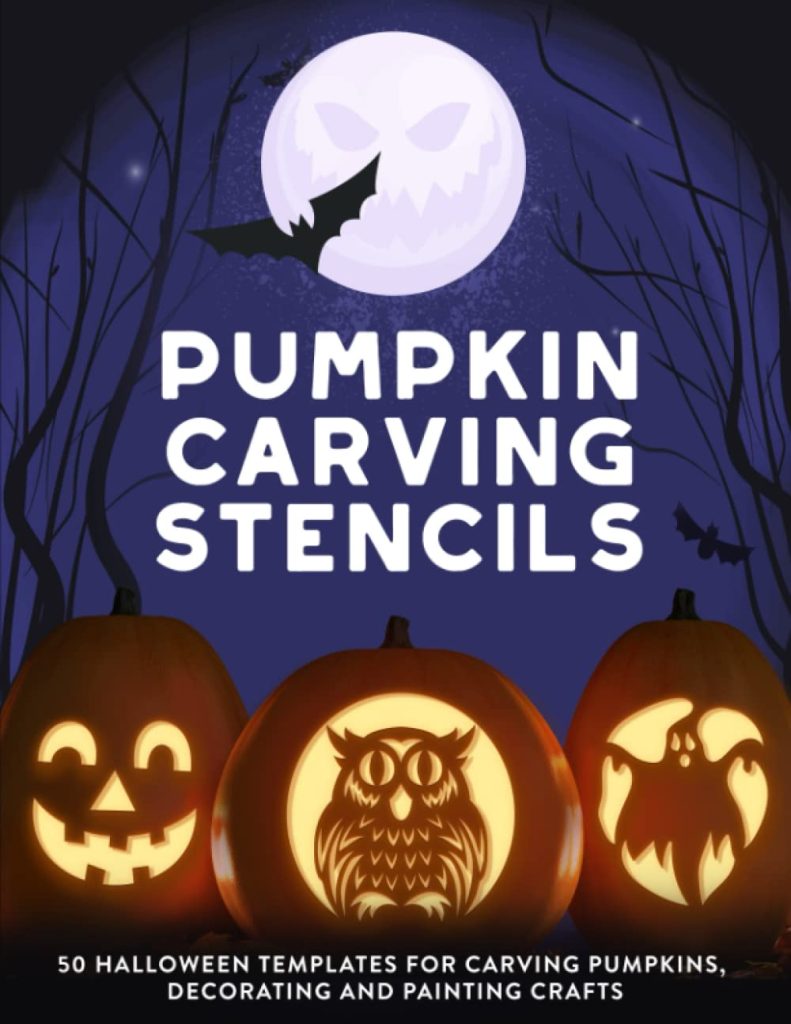
We have found free carving stencils and free printable designs online. Many stores also carry pumpkin carving kits you can buy.
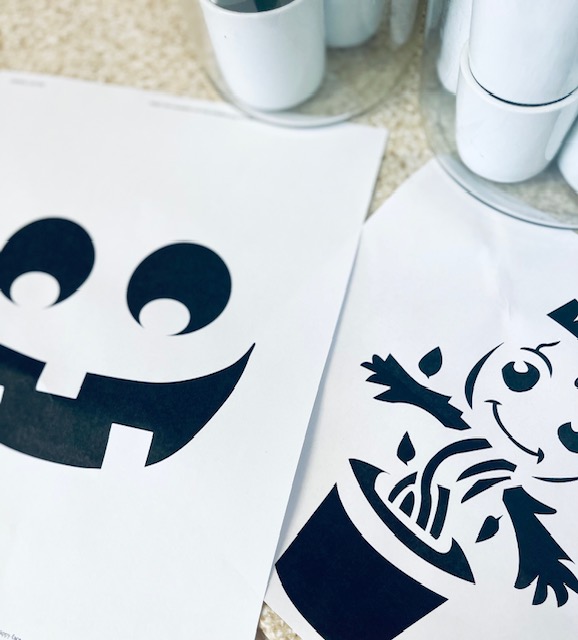
My family likes to have a little fun competition with pumpkin carving. They like to see who can carve the funniest pumpkin or the scariest! I try to create a pretty pumpkin and my husband likes to create the classic design on his pumpkin.
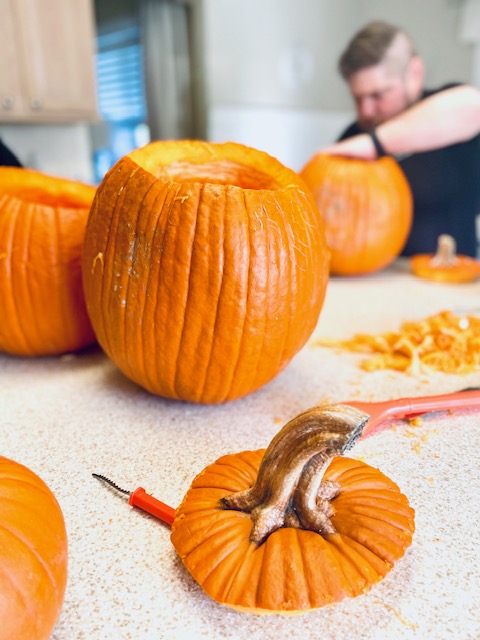
I’ll have fun festive fall music playing in the background, this sets the perfect mood for our pumpkin carving day!

Creative Food & Drinks
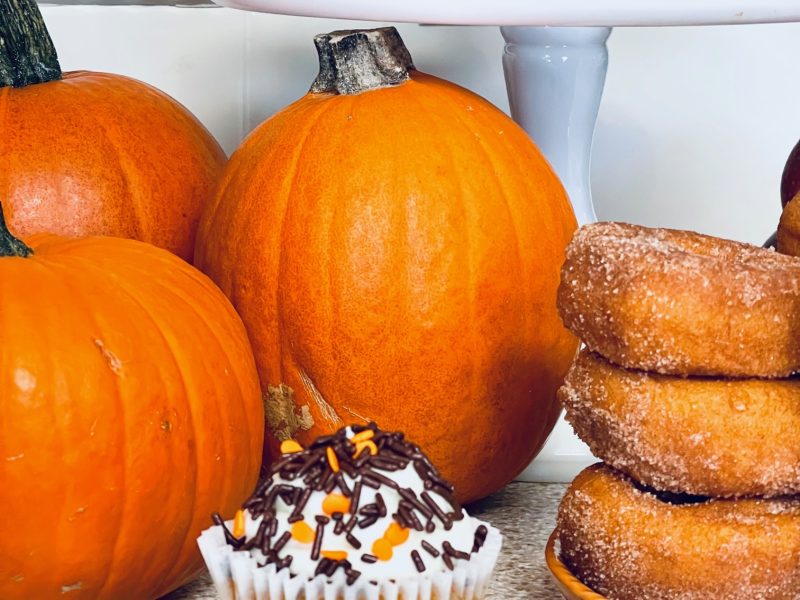
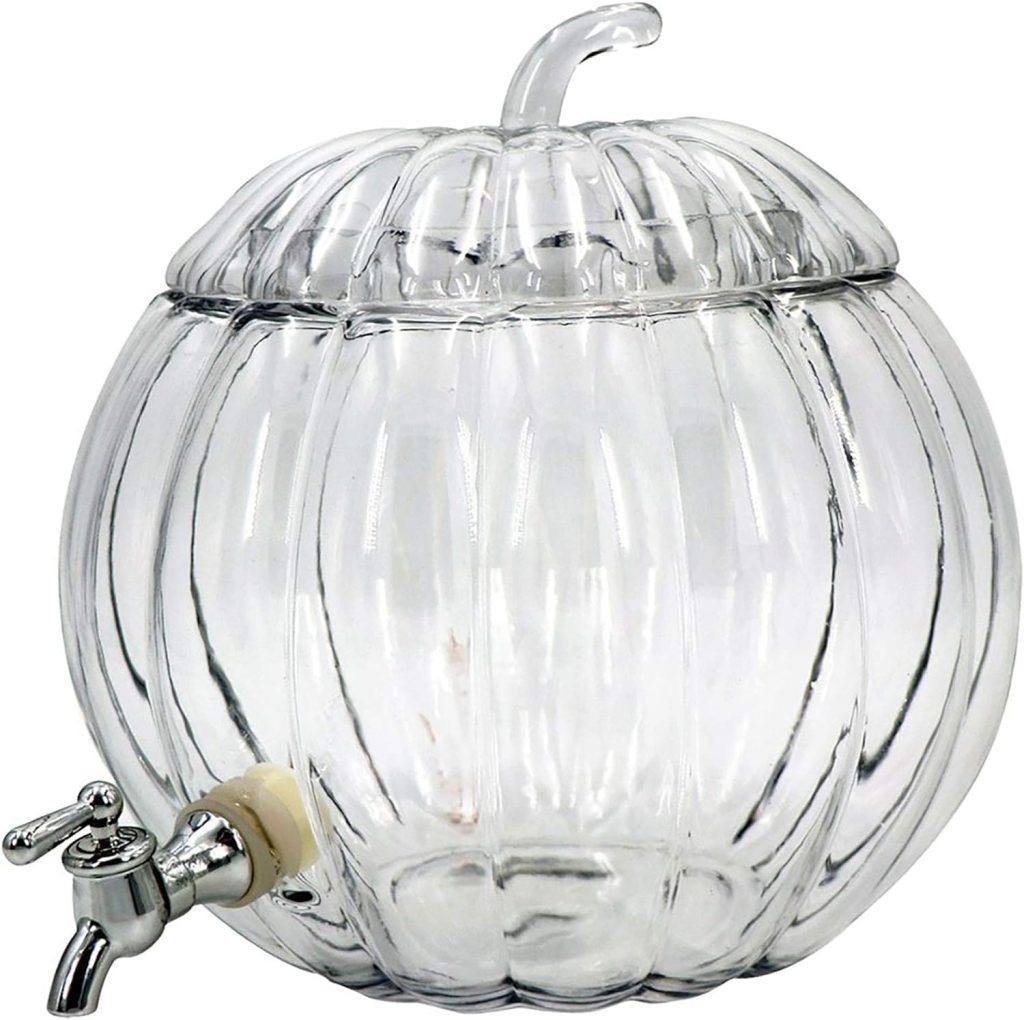
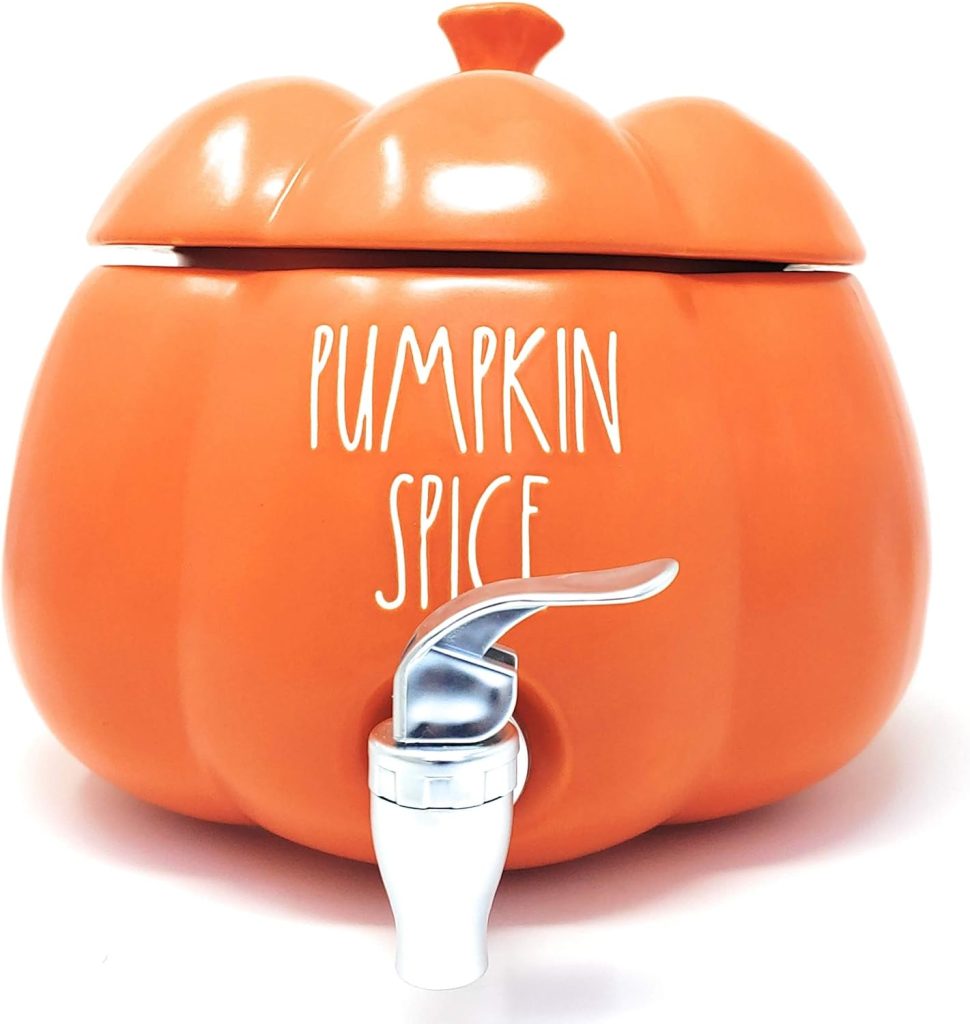
Another way to have a fun day is to serve snacks and drinks. I have a fun pumpkin drink dispenser my oldest son bought me years ago. This gets filled with my harvest punch and I add some apples and oranges for a citrus taste. I also serve cinnamon and sugar donuts, fall cupcakes, and pumpkin bars for dessert. This is a wonderful pumpkin bar dessert. https://houseofmar.com/the-best-gluten-free-pumpkin-bar-recipe/
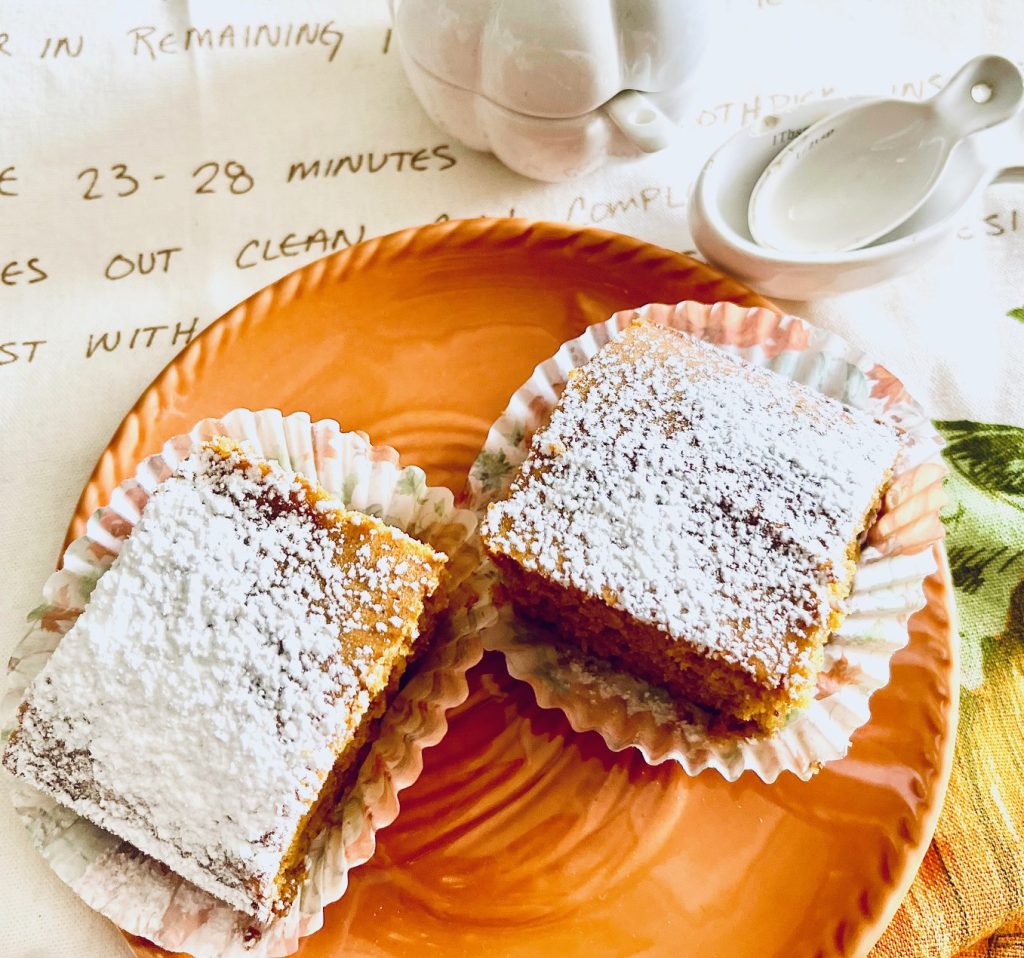
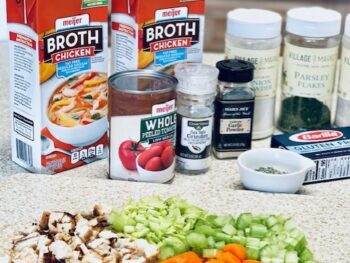
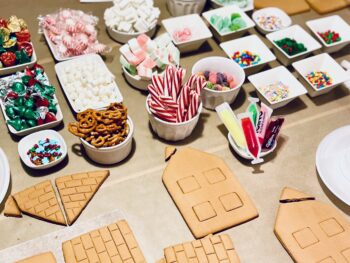
I’ll make a warm soup to add to our carving party! It’s also fun to add a few themed food items such as bread cutout with pumpkin cookie cutters. Adding a little pumpkin butter to the bread is so delicious to serve with the soup. When my kids were younger I would make up a little candy snack bag with a few of their favorite candies, I still do this even though they are adults. They enjoy these little fun treats!
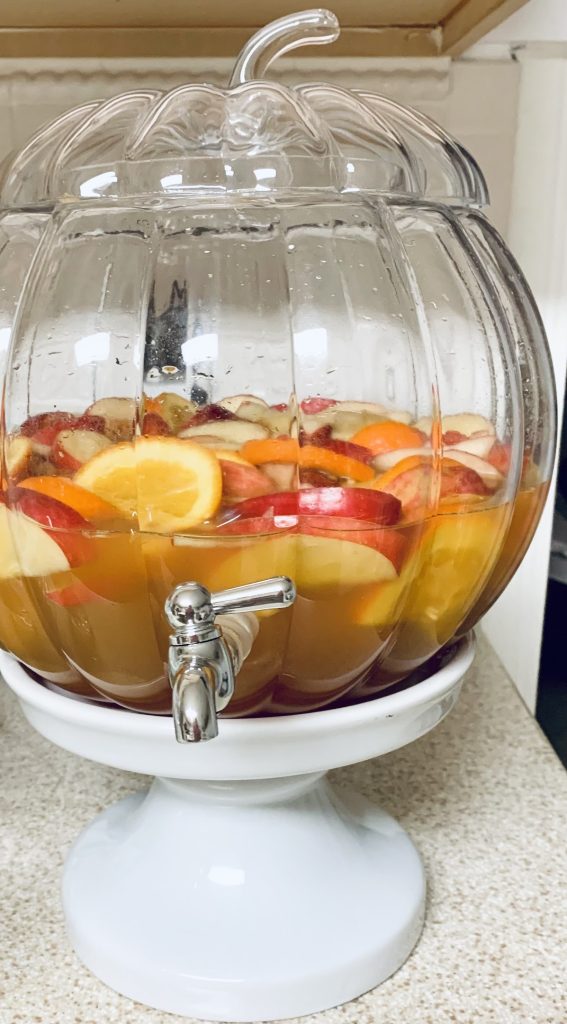
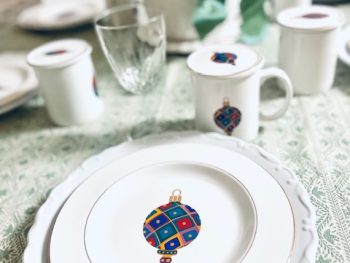
I do like to add a festive tablecloth and or placemats to our dining table. For this day I will find some fun fall serving ware to add to our tablescape. Some years I have used fun paper products and other years I’ll use fall dishware.
I make sure to take pictures of our day so we can look back and see how we shared this day. We also take pictures of our carved pumpkins and compare them year after year. It’s a day filled with lots of giggles and love!
There are so many ideas on how to have the most fun day carving pumpkins!
Display
Once the pumpkins are carved we display them and arrange them usually outside on the porch. We place a candle on the inside of the pumpkin and light it to see the beauty of what we created. We are so funny we will all gather around the pumpkins to admire them and talk about how we did this or that to create our pumpkin.

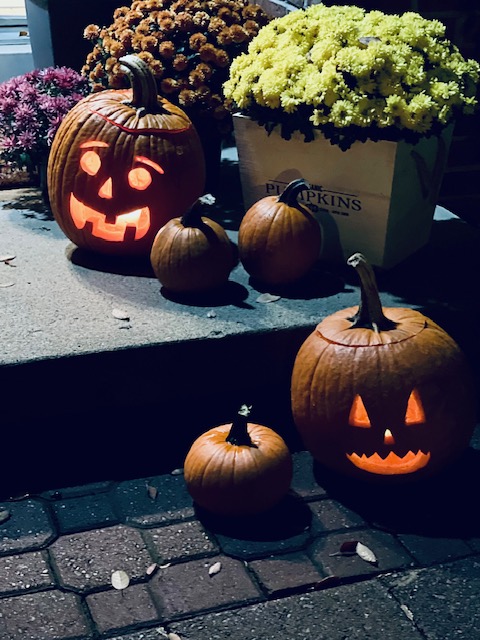
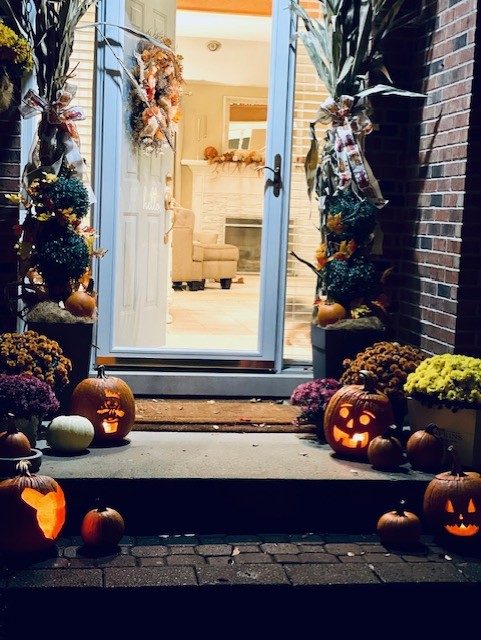
It’s such a fun day to spend with family and I look forward to it each year!
How To Have The Most Fun Carving Pumpkins
- Choose a pumpkin: Select a pumpkin that is ripe, firm, and has a flat bottom to ensure stability.
- Prepare your workspace: Lay down newspaper or a plastic sheet to catch any mess from the pumpkin.
- Cut off the top: Use a sharp knife or pumpkin carving tool to carefully cut a hole around the stem of the pumpkin. Angle the knife inward to create a lid. Then set the lid aside.
- Scoop out the insides: Use a spoon or scooper to remove the seeds and pulp from the pumpkin. Scrape the inside walls to create a smooth surface.
- Transfer your design (optional): If you have a design template, tape it onto the pumpkin. Trace the design onto the pumpkin using a marker or pen.
- Carve the design: With a sharp knife or pumpkin carving tool, carefully cut along the traced lines of your design. Make sure to take your time and work slowly to avoid any accidents.
- Clean up the edges: Smooth out any rough edges or jagged areas with a knife or carving tool. Also make sure there are no pulp or seeds left on the inside of the pumpkin.
- Light it up: Place a candle or LED light inside the carved pumpkin to illuminate your pumpkin. Be sure to use caution and never leave a lit pumpkin unattended.
Remember to use safety while carving a pumpkin. If you’re uncomfortable with using sharp tools, then use a pumpkin decorating kit or ask for assistance from someone experienced.
Items Needed To Carve A Pumpkin
- Pumpkin: Choose a ripe and firm pumpkin with a flat bottom.
- Sharp knife or pumpkin carving tools: Use a knife with a serrated edge or pumpkin carving tools for safer carving.
- Marker or pen: Use a marker or pen to draw your design on the pumpkin before carving.
- Stencil: Stencil carving tool or knife to cut along the stencil
- Spoon or scooper: Use a spoon or scooper to remove the seeds and pulp from the pumpkin.
- Newspaper or plastic sheet: Lay down newspaper or a plastic sheet to catch any mess and make cleanup easier.
- Candle or LED light: Place a candle or LED light inside the carved pumpkin to illuminate your design.
Remember, the most important aspect of carving pumpkins is to have fun and enjoy the time spent together with family and or friends.
Let’s not forget pumpkin seeds can be saved, washed, salted, and baked for 35 minutes. They are delicious!
Fall is a wonderful time of year, enjoy all that the season has to offer!
Blessings!
Mary Anne,
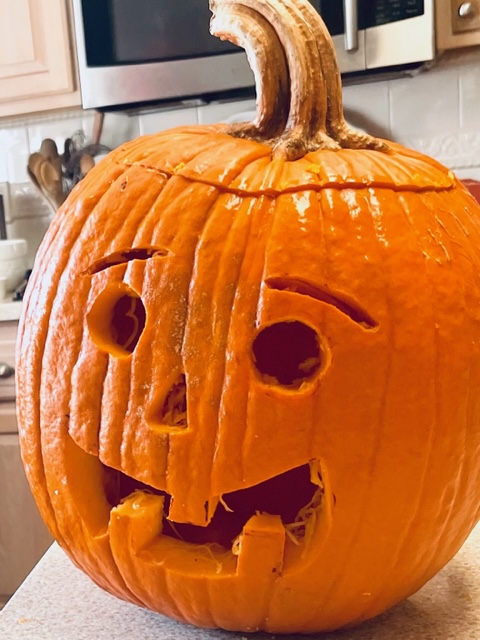
Below I’ve included a fun printable recipe and items my family and I used during our carving pumpkin party!
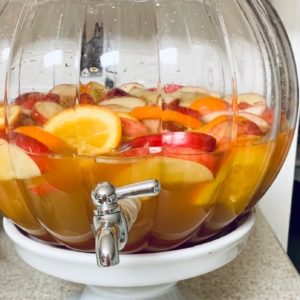
Harvest Punch
Equipment
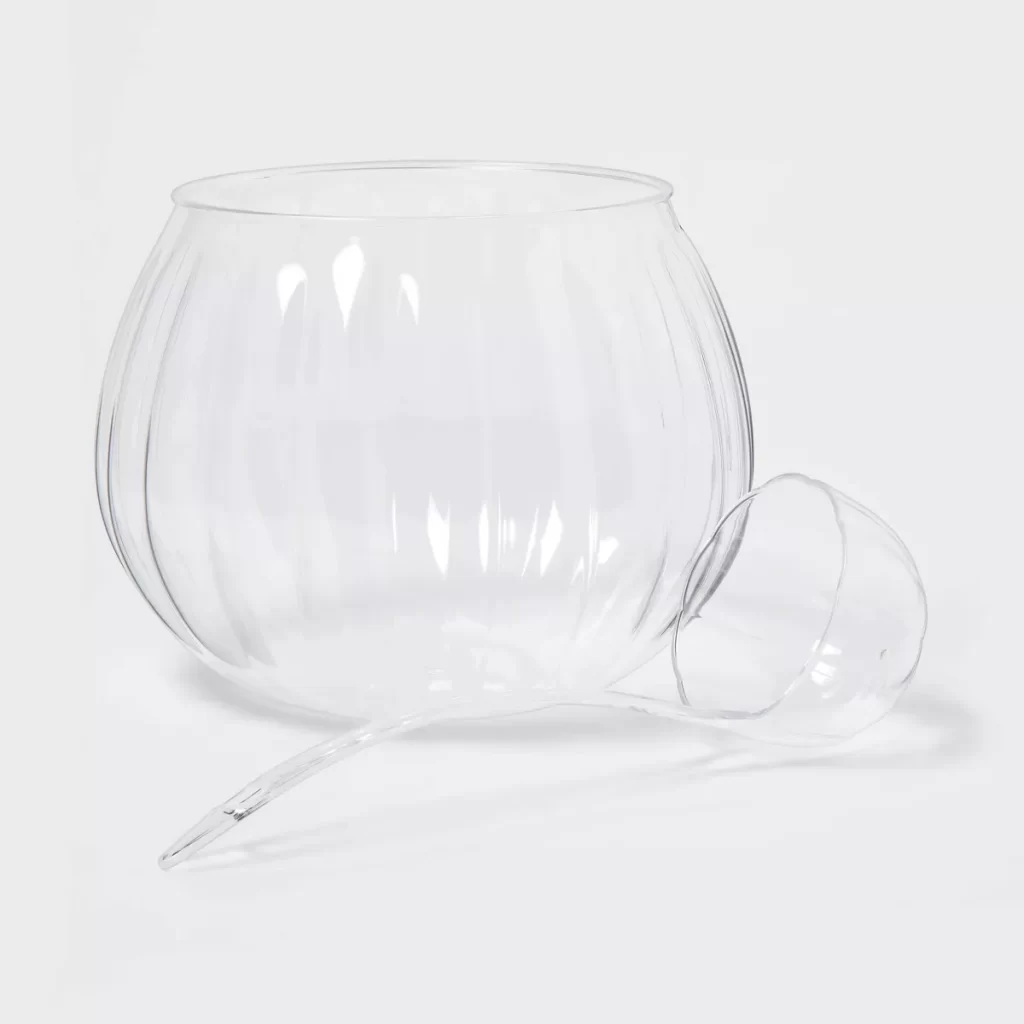
- Dispenser or punch bowl
- Laddel
- Spoon
Ingredients
- 2 Granny Smith Apples
- 2 Gala Apples
- 2 Oranges
- 1 can of frozen orange juice
- 1 1 gallon Apple cider
- 1 bottle Sparkling white wine
Instructions
- Cut and Quarter your apples and oranges
- Add all liquid ingredients and mix
- Add ice
- Add in your fruit and stir





 How To Get The House Ready For Fall Maintenance


