Do you love a good find?
Oh my gosh I sure do!
I found 2 counter stools on the Facebook market place, for $30.00… for both! Lately I’ve had really good luck on the Facebook market place.
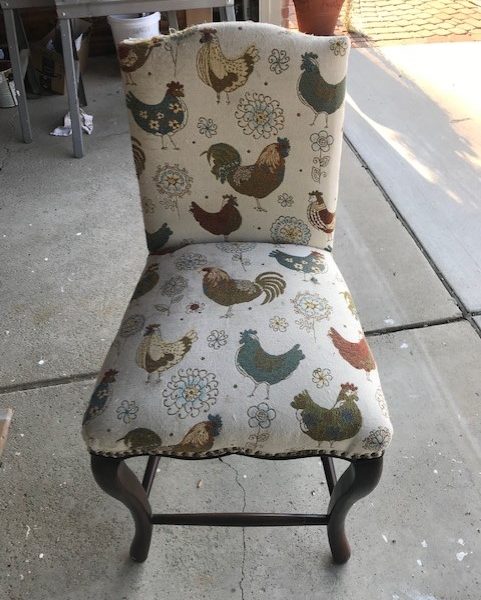
Both chairs were in pretty good shape. The fabric, although was nice, just not my style.
So I decided I would reupholster both chairs, change out the fabric, and paint the wood a lighter color.
These are the orginal chairs in the picture below.
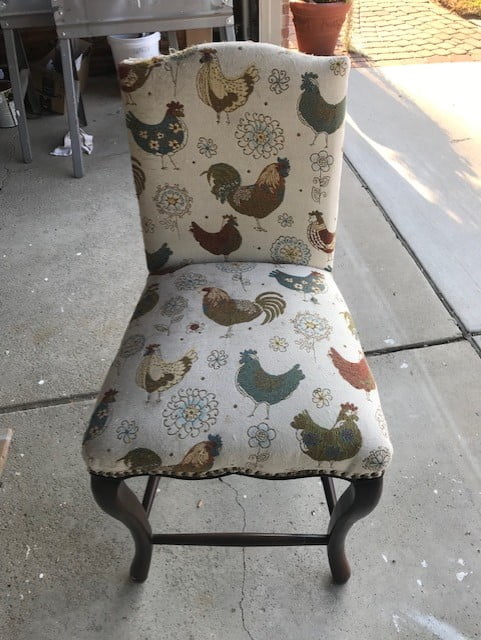
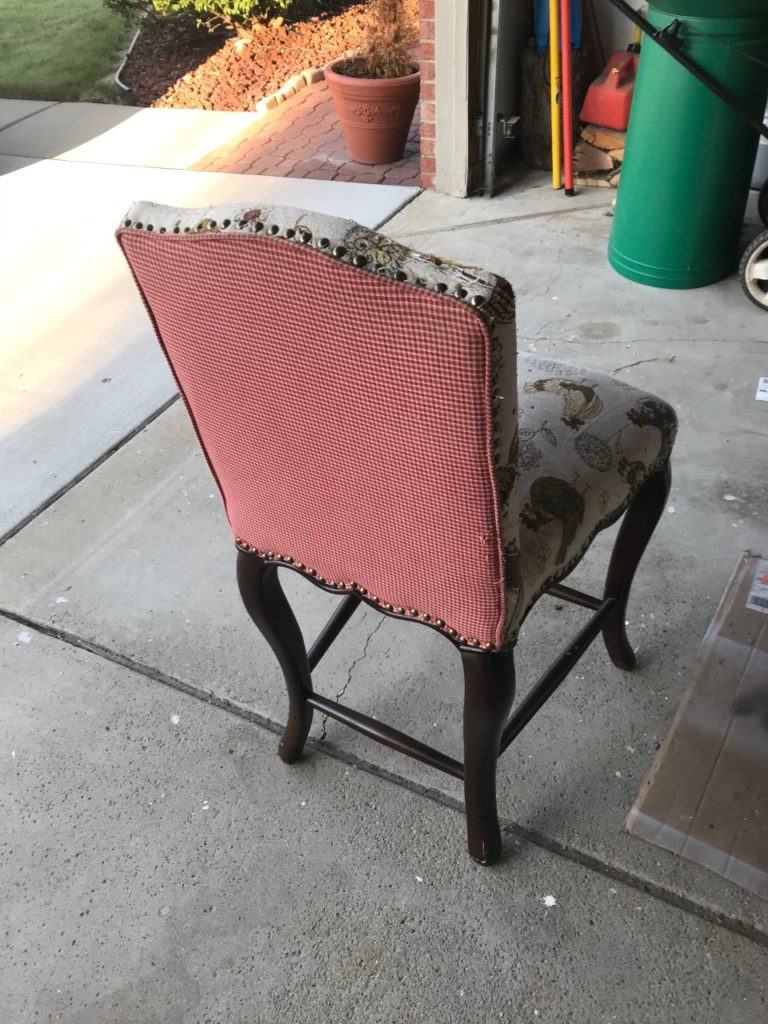
Reupholstering the chairs I thought might be a little changeling for my husband and I, but we were willing to try!
I had 5 yards of plaid fabric, some left over paint and thought this will work!
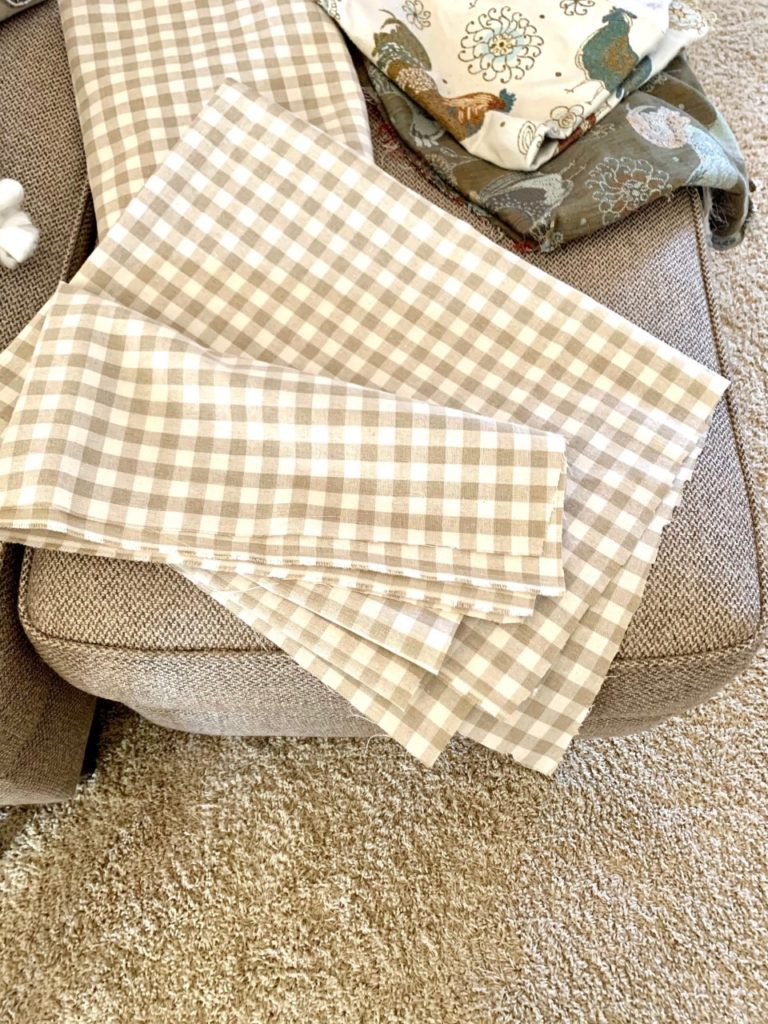
We removed the fabric from the chairs and decided to use it as our pattern for the new fabric. Excuse the messy garage. This is where we did most of the work, It does need a good cleaning and organizing but when I finish all my other projects Hahaha!!!
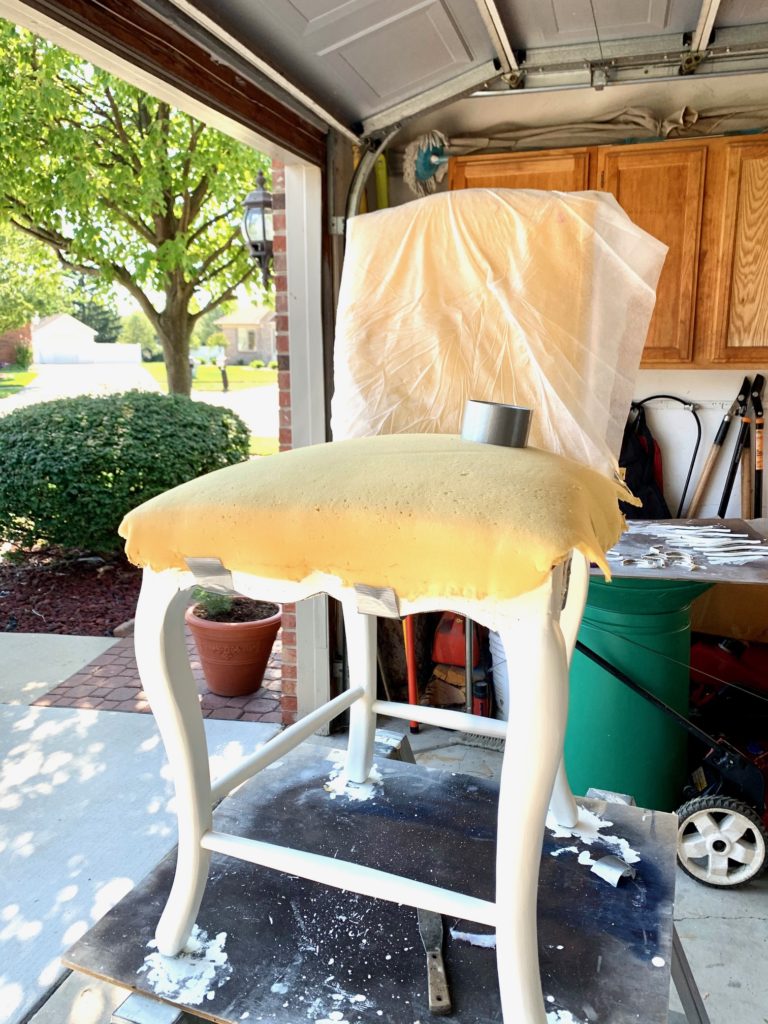
There were so many stapes in the chairs I used my staple remover to remove them.
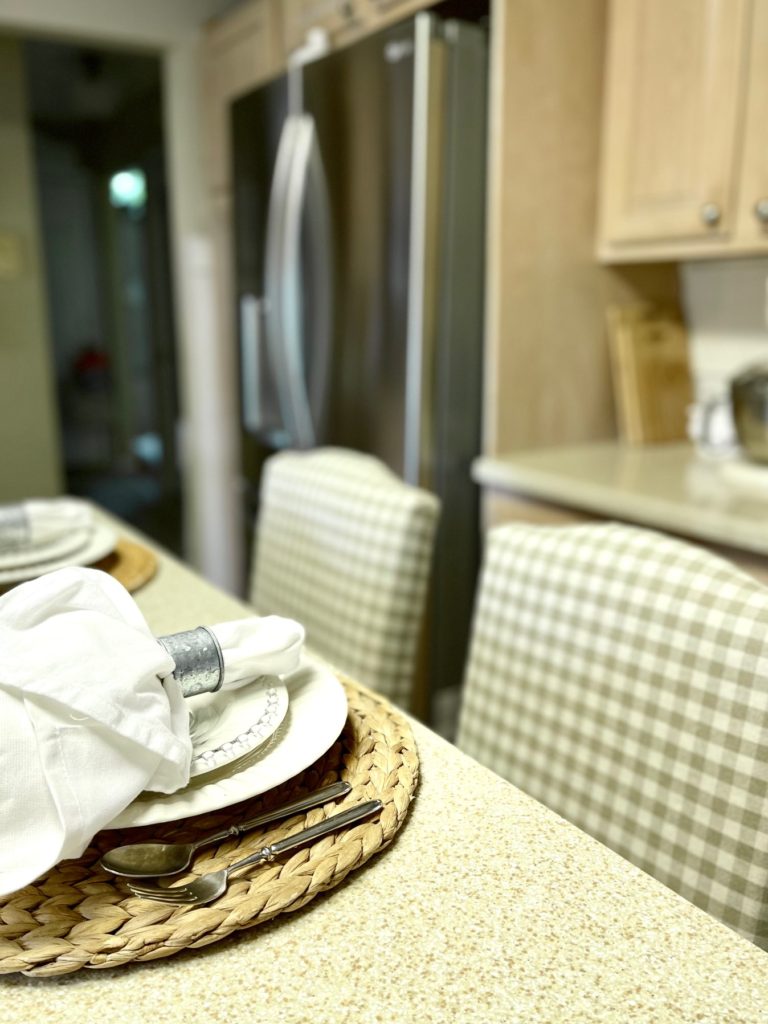
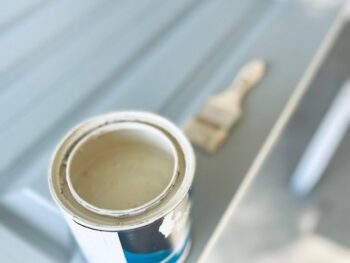
I used a linen white paint from Sherwin Williams. We painted the chairs before reupholstering them. The chairs also had a little detailing around the edge almost like a molding. We removed these as well and painted them the same color as the chair legs.
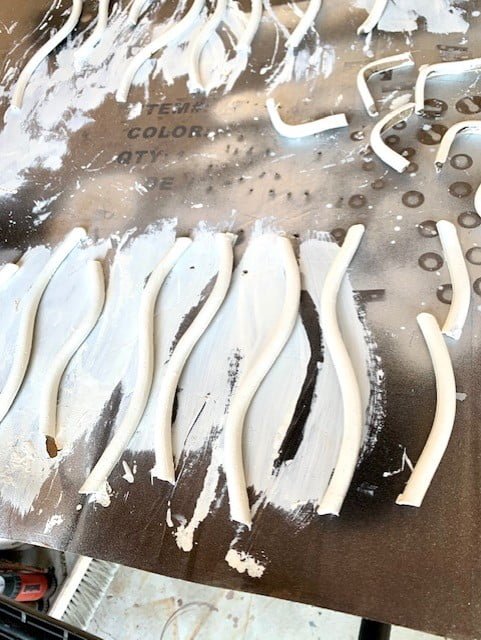
We lightly sanded the chair legs before painting them and then wiped them down with a damp cloth making sure there was no dust left from the sanding of the chair.
Using a good quality paintbrush we painted two coats of paint on the chair legs. We didn’t prime the chairs before painting them. Using a good paint you can sometimes get away with not priming before you paint. After we finished painting the chairs we did make sure to let the chairs dry for a day or two.
While the chairs were drying my husband and I work on the fabric.
Working with my husband on this project was really fun, he is so patient, and knows how to sew, thank goodness!!!! He is always ready to help me with any new project I conjure up, lol and he knows how to sew! Win Win for me!
Working on the fabric we did cut the new fabric 4 inches wider than the original fabric, for tucking and trimming purposes.

We lay the new chair fabric flat on a table and put the original fabric on top of the new fabric. I traced the pattern from the original fabric onto the new fabric with a fabric pencil, I made sure to leave the extra 4 inches all the way around the new fabric.
This created three piece of the fabric, one for the seat of the chair and two pieces for the backing of the chair.
We were able to take the top of the chair and the bottom of the chair apart so it made it much easier!
I used my fabric scissors to cut out the new fabric from the pattern of the old fabric.
The original cushion on the chairs were in good shape, this was a plus!
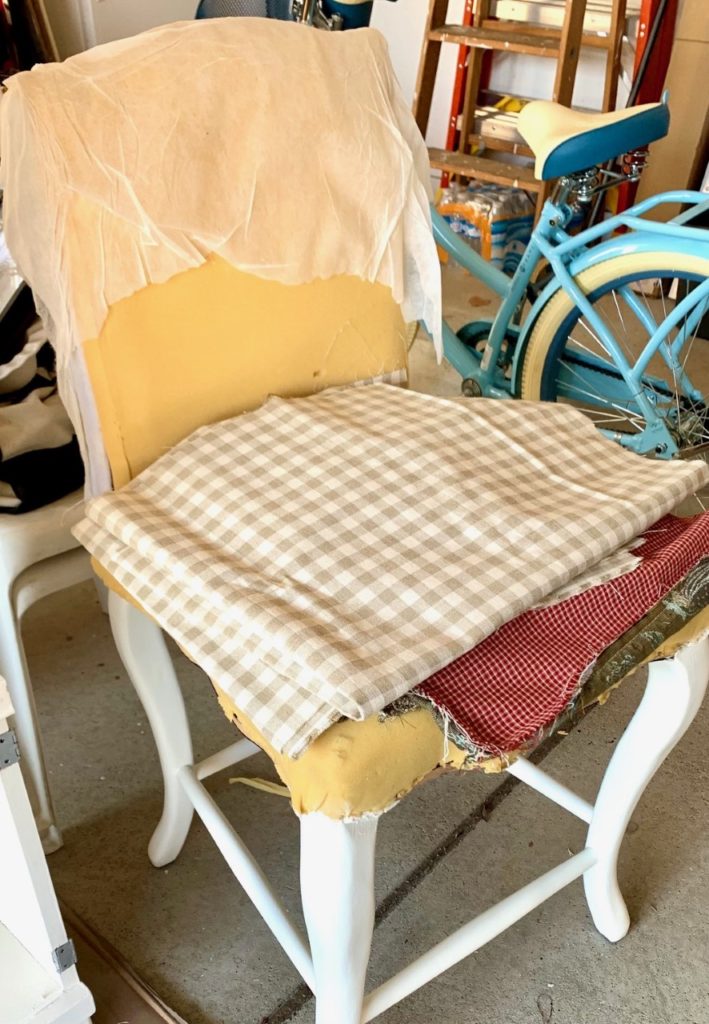
This project did call for the use of my sewing machine. We folded the fabric over an inch all the way around, first pressing the fabric with a hot iron along the inch that was folded. It kept the fabric in place when we began to sew.
We sewed an inch all the way around the edge of the fabric so there would be no fraying of the material.
It was a simple straight sew, this also gave the fabric a tailored look.
Once this was done we began the task of putting the fabric on to the chairs.
We started with the seat first. We lay the fabric on a flat surface such as a table. Tucking the fabric on the underside of the seat and stapling as we went around the seat. Make sure to hold the fabric tight so you don’t form wrinkles. Next we did the back side of the chair. This was a little tricker. We had cut two pieces of the fabric for the back side of the chair. We sewed the two pieces together and made it fit as a slip cover over the top part of the chair. We stapled the fabric to the underside of the back of the chair cushion.

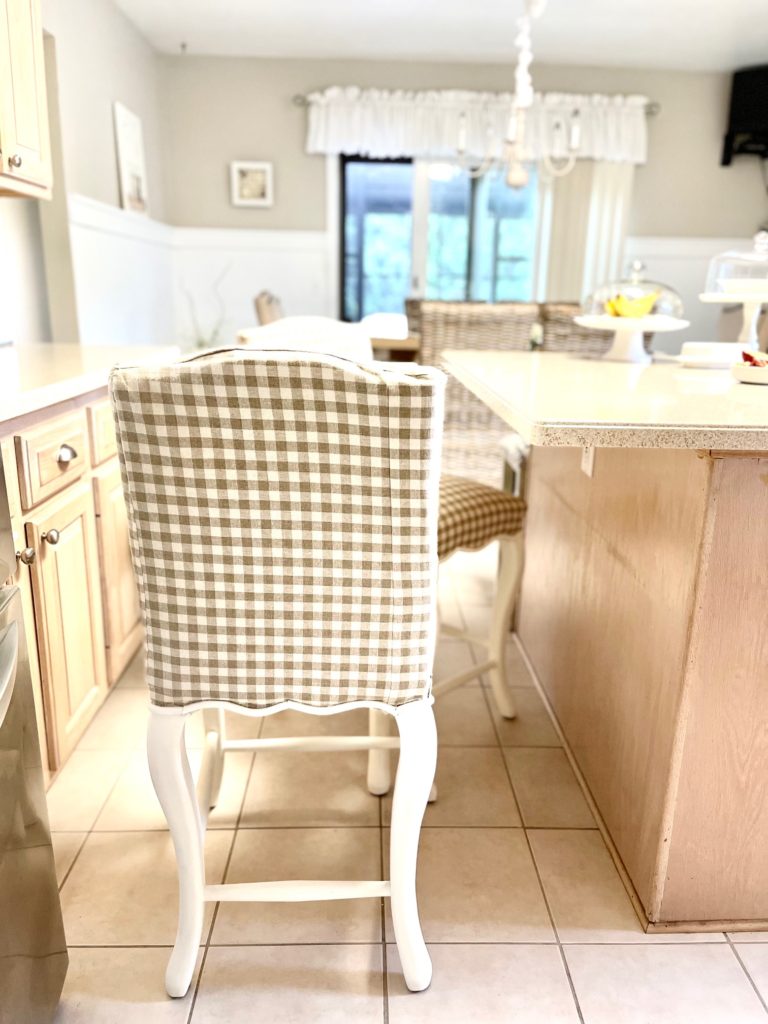
The top of the chair has a little fold over and it lays flat.
Next we attached the little moldings. We used glue and little white tacking nails for fabric .
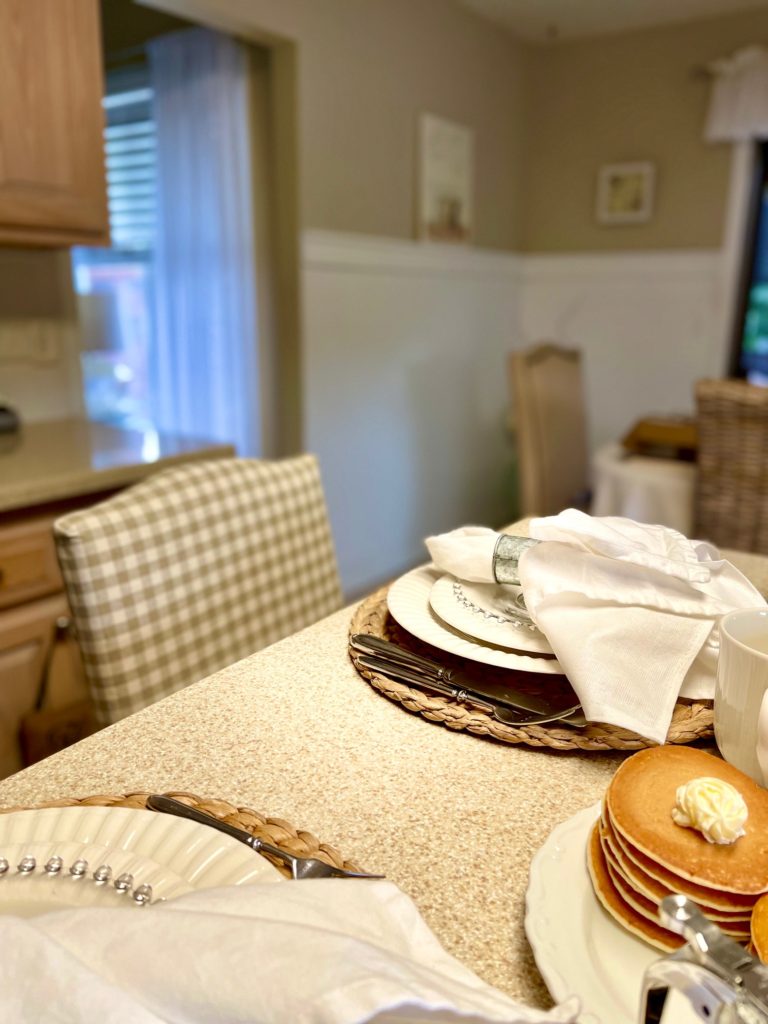
The chairs were a weekend project. Mostly due to the drying time of the chairs.
I am so happy with the chairs, and working with my husband on this project was a bonus!
Items used:
Sewing machine
Scissors
White thread
Iron
5 yards of fabric
Staple gun
Staples
Staple remover
White paint
Paint brush
Fabric pencil
Fabric glue
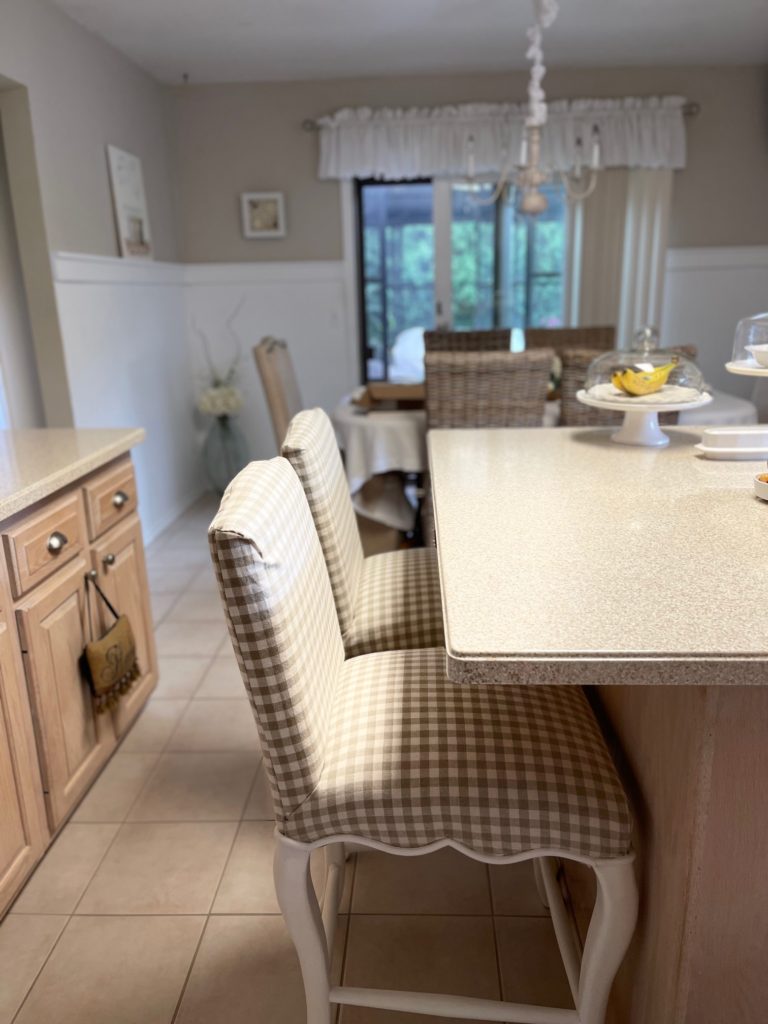
I did call around to ask how much it would cost to have the chairs done. I was getting prices around $350.00 for each chair and some higher prices. We’re surly not professionals, but I’m happy with the way they turned out and the amount of money I saved!
I wish I would have done a video on how we completed these chairs, next time I will for sure!
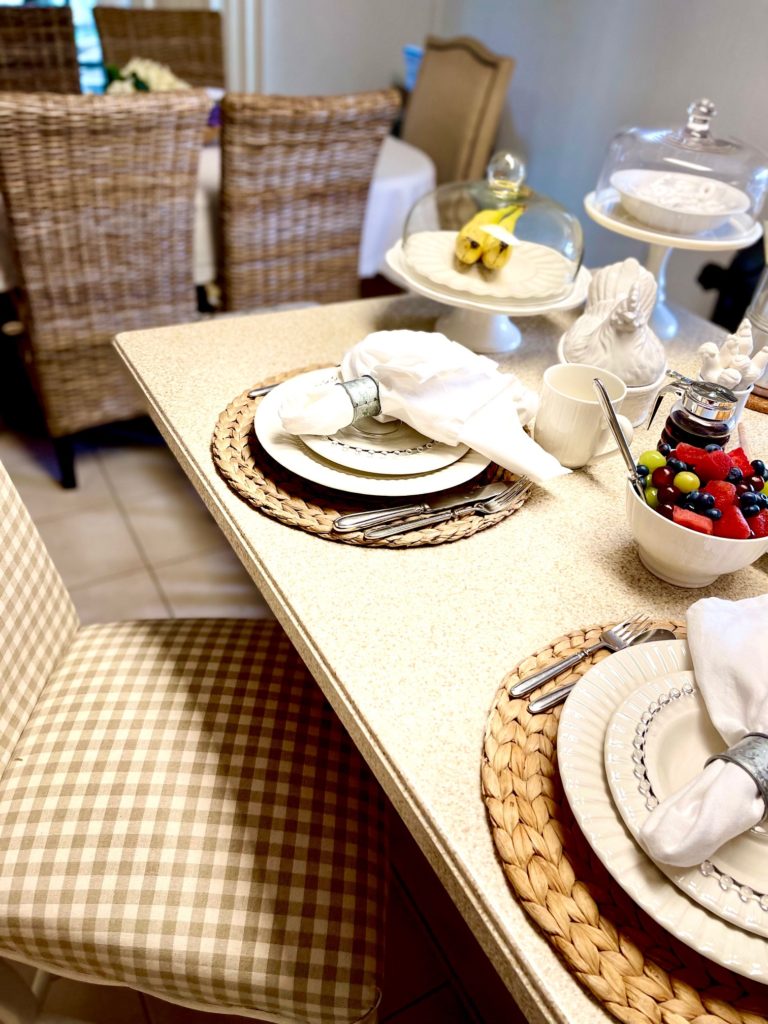
Thank you for taking the time to stop by! Are are you working on any current projects right now? I would love to hear about them!






 How To Do A Quick Front Porch Makeover


Renae
Wow! These chairs are gorgeous! I love them. You did a great job. See you at haven.
maryannerusso
Thank you Renae! Looking forward to seeing you at Haven!